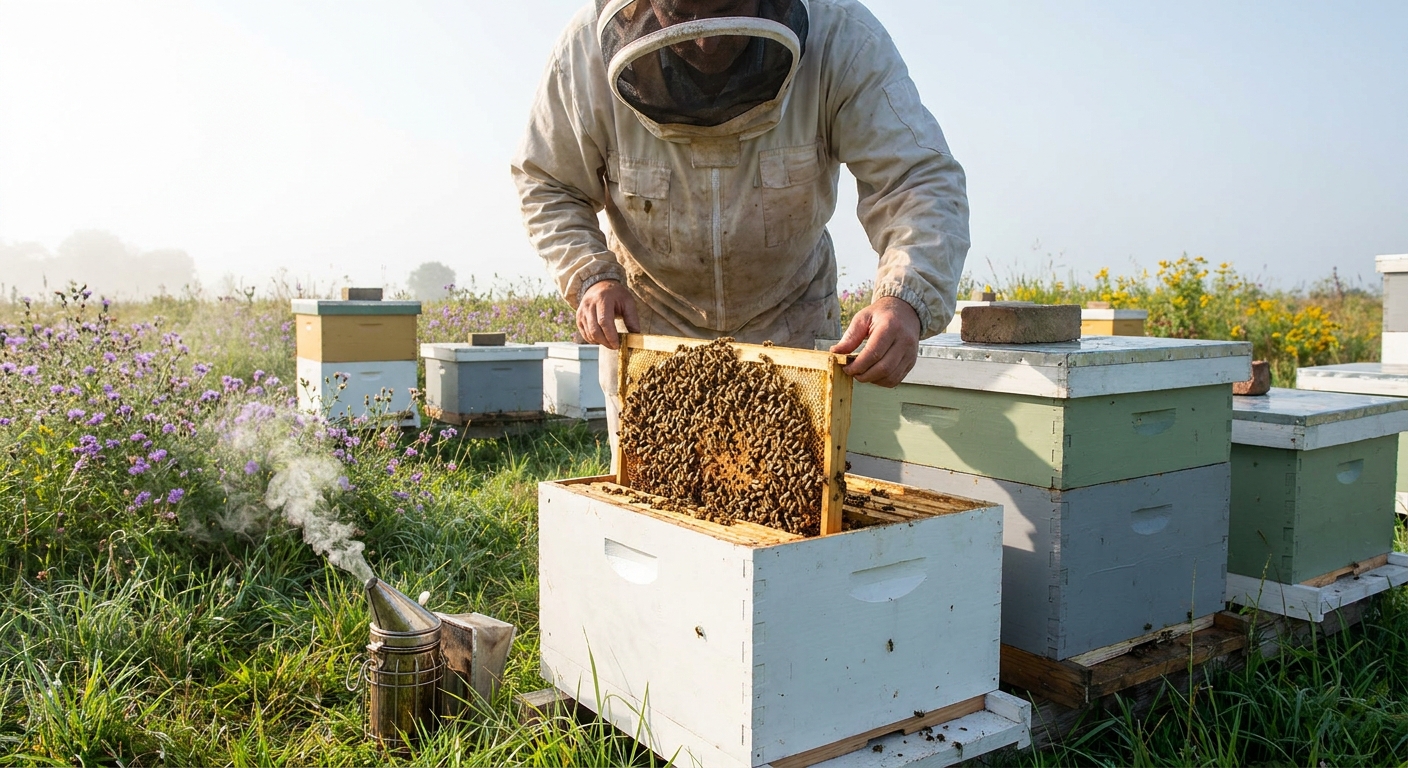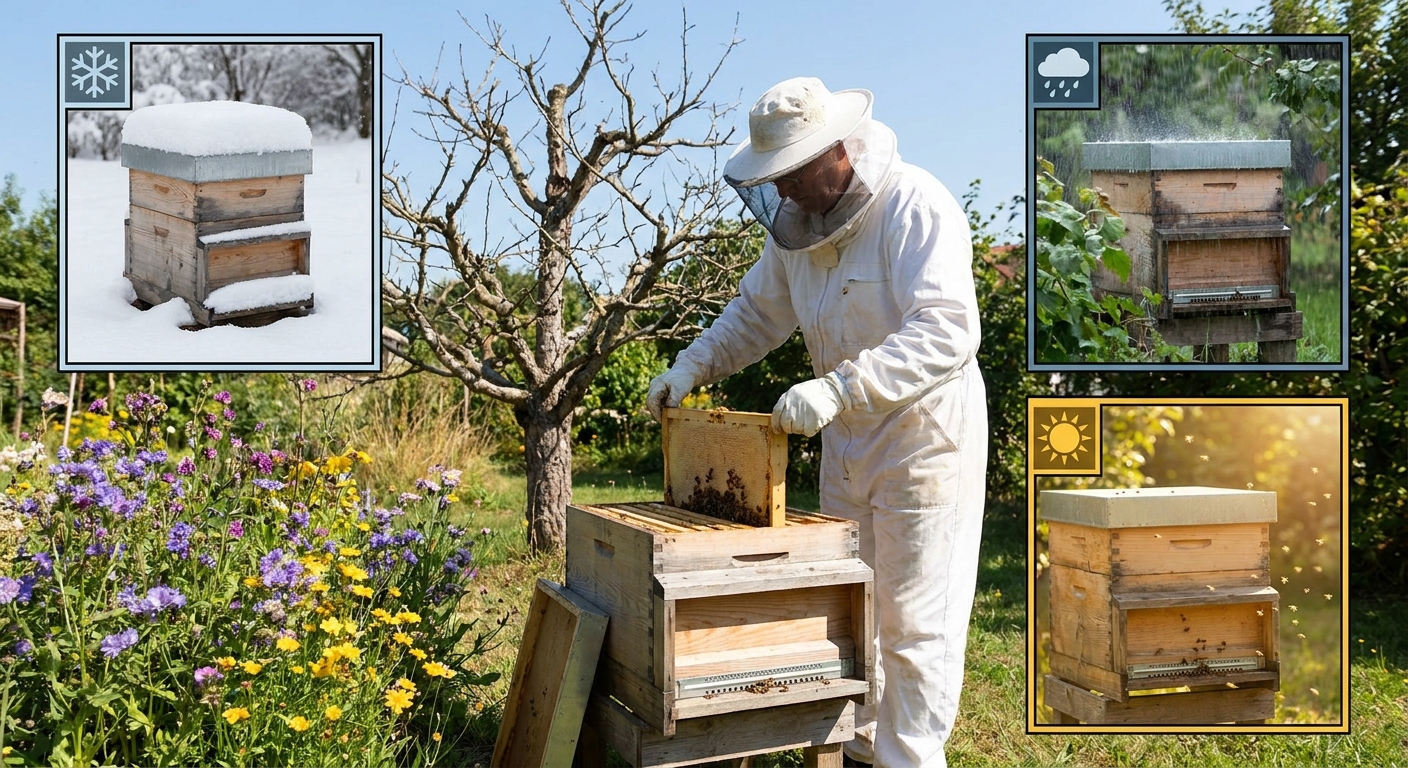
Managing a beehive in your backyard isn’t about perfection; it’s about partnership. Your bees know how to be bees. Your role is to read what the hive is telling you, step in when they need help, and step back when they’re doing just fine.
Introduction
This guide walks through hive management season by season, with practical inspection tips, gentle troubleshooting, and a bit of honeybee biology so you understand why you’re doing what you’re doing.
Understanding the Hive: A Quick Biology Primer
Before we talk about seasons and checklists, it helps to know who’s who inside your hive.
The Queen
- Job: Lay eggs and produce pheromones that keep the colony cohesive.
- What to look for: A long abdomen, usually moving calmly with a small “retinue” of workers facing her.
- Red flag signs: No eggs, spotty brood pattern, or lots of emergency queen cells.
Worker Bees
- Job: Everything else—nursing brood, foraging, guarding, comb building, and cleaning.
- Lifespan: 4–6 weeks in summer; several months in winter.
- Why it matters: Their short lives mean the queen must lay steadily to keep colony numbers strong.
Drones
- Job: Mate with queens from other colonies.
- Seasonal pattern: Numerous in spring and summer; ejected in fall.
- Why it matters: Lots of drones is normal mid‑season; seeing almost none in early summer can be a sign of a stressed colony.
Understanding these roles will help you read the brood pattern and overall “feel” of your hive during inspections.
Spring: Building Strong Foundations
Spring is when colonies ramp up and you set the tone for the entire beekeeping year.
Main Goals in Spring
- Confirm the colony survived winter and is queen‑right.
- Ensure they have enough food until nectar flow.
- Manage population growth to prevent early swarming.
What to Look for in a Spring Inspection
Aim for a full inspection on a mild, calm day (ideally 60°F / 15°C or warmer).
Check:
- Brood pattern: Look for a solid, football‑shaped patch of brood. Few empty cells between brood show a healthy queen.
- Eggs and larvae: Fresh eggs stand up in the cell; older eggs lean over. Seeing eggs means the queen has been present in the last 1–3 days.
- Food stores: You want at least a couple frames of honey and pollen. Early spring starvation is common.
- Space: If brood is packed tight and nectar is coming in, consider adding another box or super when 7–8 of 10 frames are drawn.
Spring To‑Do List
- Feed if necessary: If stores are light, use 1:1 sugar syrup and consider pollen patties until natural forage is abundant.
- Reverse brood boxes (where appropriate): In stacked deep setups, colonies often move up over winter. In early spring, some beekeepers swap the top and bottom brood boxes so brood is centered and the queen has room above.
- Begin swarm prevention: If your colony is booming, you can:
- Add supers early so foragers have room for nectar.
- Remove frames of capped brood to boost weaker hives (only if you’re confident and disease‑aware).
- Create a split if the colony is very strong.
Keep your handling calm and efficient—cool spring air can chill brood.
Summer: Flow, Swarms, and Heat Management
Summer is main honey flow for many regions—and peak hive activity.
Main Goals in Summer
- Prevent or manage swarms.
- Give bees adequate space for nectar and brood.
- Monitor for pests and diseases.
Summer Inspection Rhythm
During high nectar flow, you might do brief checks every 1–2 weeks.
Focus on:
- Brood pattern: Still mostly solid? Any sudden gaps or scattered brood can suggest queen problems or disease.
- Swarm cells: Peanut‑shaped, usually on bottom or edges of frames. Lots of capped swarm cells mean your hive is serious about leaving.
- Honey supers: Are they drawing comb? When a super is ~70–80% full, consider adding another.
Gentle Swarm Management
Swarming is natural, but losing half your bees mid‑season can hurt your honey crop.
Gentle approaches:
- Equalize hives: Move a frame or two of capped brood from booming colonies to weaker ones.
- Make a split: Take a few frames of brood (with adhering bees) and a frame of honey/pollen to start a new colony. Provide a mated queen or let them raise one.
- Remove swarm cells selectively: If you see a handful of cells and your colony isn’t overcrowded, you can remove them. If there are many and the colony is packed, a split is usually more effective than just cutting cells.
Heat and Ventilation
- Shade in hot climates: Dappled shade in the hottest part of the day reduces stress.
- Upper entrance or ventilation shim: Helps hot air and moisture escape.
- Water source: A shallow container with pebbles or corks near the hive keeps bees from crowding neighbors’ pools.
Fall: Setting the Hive Up for Winter
Fall hive management is about consolidation and preparation.
Main Goals in Fall
- Ensure sufficient food stores.
- Confirm a healthy, productive queen.
- Reduce space to what bees can protect and heat.
Fall Inspection Focus
- Brood nest size: It should begin to shrink, but you still want a healthy pattern.
- Food stores: In many temperate areas, a full double‑deep hive needs roughly 60–80 lbs (27–36 kg) of honey to overwinter. Local experience matters—ask nearby beekeepers.
- Varroa and disease: High mite loads going into winter can doom a colony even if stores are plentiful.
Fall Actions
- Remove extra supers: Leave only what bees can cover with bees and will use.
- Feed if needed: Heavy 2:1 syrup in early fall helps them backfill comb before cold weather.
- Reduce entrances: Entrance reducers help with robbing and pests like mice.
- Install mouse guards and windbreaks: Especially in areas with harsh winters.
Think of fall as packing your bees’ “backpack” for a long, forage‑free trip.
Winter: Quiet Support, Not Constant Checks
Winter management is less about opening the hive and more about keeping conditions stable.
Main Goals in Winter
- Protect bees from moisture, wind, and starvation.
- Avoid unnecessary disturbance.
Winter Check‑Ins (No Full Inspections)
- Weight check: Gently lift the back of the hive. If it suddenly feels light compared to early winter, emergency feeding may be needed.
- Entrance clear: Brush away snow or dead bees so ventilation and occasional cleansing flights are possible.
Emergency Feeding Options
If stores run low mid‑winter:
- Fondant or sugar bricks: Place over the cluster, just above the top bars.
- Candy board: A prepared board of hard sugar that sits on top.
Open the hive briefly on a calm day above freezing; work quickly to avoid chilling brood.
Core Inspection Skills for Every Season
Regardless of time of year, certain habits make hive checks smoother and more informative.
Prepare Before You Open
- Light your smoker and get it working steadily.
- Have tools ready: hive tool, extra frames/boxes if needed.
- Know why you’re opening: food check, queen check, swarm prevention, etc.
Use Smoke Gently
- One or two small puffs at the entrance.
- Wait a minute, then open the lid and give another small puff under the cover.
- Avoid over‑smoking; it can drive bees deeper and make inspections harder.
Reading the Brood Pattern
- Healthy: Large, contiguous areas of capped worker brood, few empty cells.
- Potential issues:
- Scattered brood with lots of missed cells.
- Many drone cells in worker positions.
- Cappings sunken or perforated (possible disease).
When in doubt, take a sharp photo and ask a local mentor or bee club.
Gentle Troubleshooting: Common Backyard Hive Issues
1. "I Can’t Find My Queen"
- Look for eggs and young larvae—they’re proof she’s been there recently.
- If you see a solid brood pattern and calm bees, you’re likely fine.
- If you see no eggs, spotty brood, and emergency queen cells, you may be queenless or failing.
What to do:
- Give them a frame of eggs from another hive (if available). If they raise queen cells on it, they probably needed a queen.
- Consider introducing a mated queen if local conditions allow.
2. “My Hive Is Booming—Am I About to Lose a Swarm?”
Warning signs:
- Crowded brood nest.
- Multiple frames of swarm cells with royal jelly and larvae inside.
- Lots of bees hanging outside (bearding) plus swarm cells.
What to do:
- Make a split with frames containing queen cells.
- Or move brood frames up and add space to relieve congestion.
3. “Bees Are Aggressive Lately”
Possible causes:
- Queen was superseded and new genetics are more defensive.
- Robbing from other colonies.
- Weather or nectar dearth making bees testy.
What to do:
- Inspect on calm, warm days only.
- Reduce the entrance and avoid spilling syrup or honey near the hive.
- If aggressiveness persists for many weeks, requeening with gentler stock can help.
The Mindset of Good Hive Management
Backyard hive management isn’t about constant tinkering. Some of your best decisions will be to observe and wait. Over time, you’ll learn:
- What a healthy brood pattern looks like for your area.
- How heavy a “well‑stocked” hive feels in your hands.
- How your bees behave before a storm, a flow, or a swarm.
Keep a simple notebook or app log after each visit: date, weather, what you saw, and what you did (or chose not to do). Patterns will emerge, and the hive’s story will start to make sense.
Most of all, remember: your bees are your teachers. The more calmly and regularly you spend time with them, the more confident and intuitive your hive management will become, season after season.