Healthy hives don’t happen by accident. They come from small, consistent actions: opening the boxes with a plan, reading what the bees are telling you, and making low‑stress adjustments.
Why a Good Inspection Routine Matters
This guide walks you step by step through a practical hive inspection routine designed for hobbyist and backyard beekeepers. We’ll combine hands‑on tips, honeybee biology, and gentle troubleshooting so each visit to the apiary feels purposeful instead of overwhelming.
Before You Lift the Lid: Preparation and Mindset
A calm beekeeper makes calm bees. Your preparation starts before you even touch the hive tool.
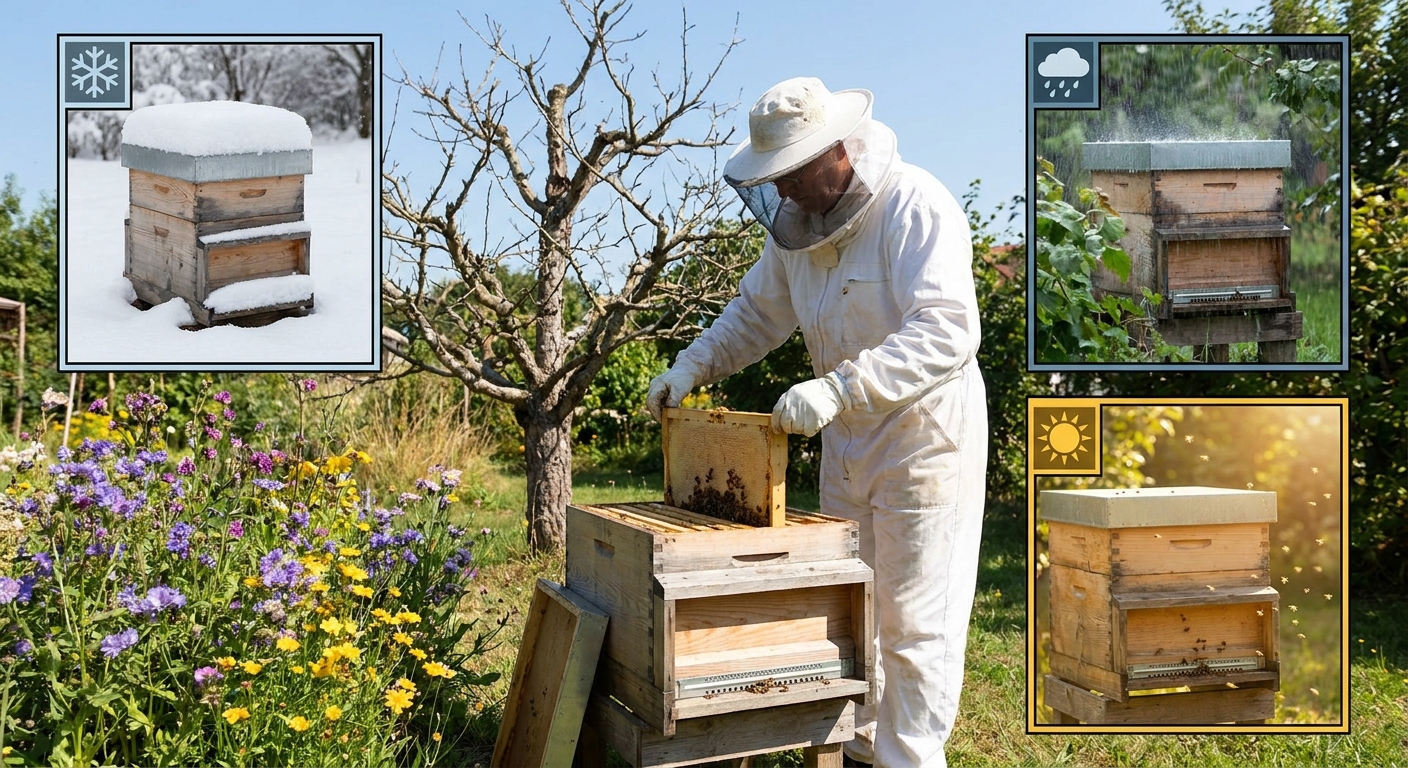
Check the Weather and Timing
- Temperature: Aim for at least 60°F / 15°C with little wind.
- Rain: Avoid inspections in drizzle or rain; wet bees are cranky bees.
- Time of day: Late morning to mid‑afternoon, when many foragers are out, is easiest on the colony.
Set Your Intention
Ask yourself: What do I need to learn from this inspection?
Common goals:
- Is the colony queen‑right?
- Do they have enough food?
- Do they have enough room for brood and nectar?
- Are there signs of disease or pests?
Having a focus prevents “frame flipping” for no reason and reduces stress on the bees.
Gear Checklist
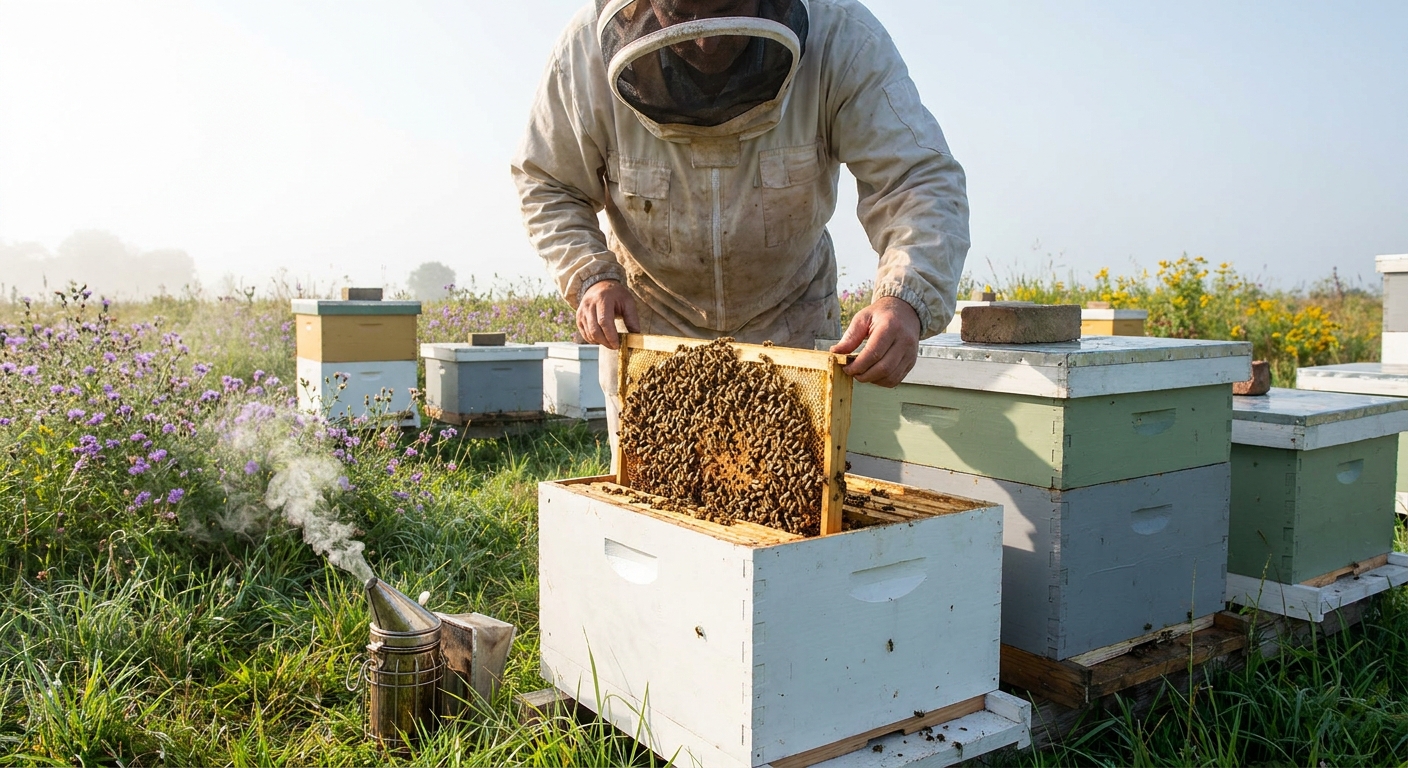
- Smoker with fuel ready and lit
- Hive tool
- Veil (and gloves if you prefer)
- Notebook or app to log observations
- Extra frames or equipment nearby if you might need to add space
A Simple, Repeatable Inspection Flow
Think of your inspection as reading a book from cover to cover. Each layer of the hive tells a part of the story.
Step 1: Approach and First Impressions
As you walk up, observe:
- Flight activity: Steady in/out traffic is good. Little to no movement on a warm day could be trouble.
- Temperament: Are bees bouncing off your veil, or mostly ignoring you?
- Entrance: Watch for pollen pants coming in—pollen usually means brood inside.
These few seconds can warn you of big changes before you crack open the hive.
Step 2: Smoke and Open Gently
- Give one or two light puffs at the entrance and under the lid.
- Wait about a minute.
- Remove the outer cover, then inner cover.
You’re not trying to overwhelm them with smoke—just give a gentle nudge that “something is happening” so they move off the top bars.
Step 3: Start at the Edges
Instead of grabbing the first center frame, work from the outside in.
- Use your hive tool to loosen outer frames.
- Remove one outer frame and set it aside safely or in a frame holder.
Outer frames often hold honey and pollen. They give you a feel for stores before you meet the brood.
Reading the Frames: What to Look For and Why It Matters
Each frame is like a page in your hive’s story. Here’s what to look for as you work toward the center.
1. Food Frames: Honey and Pollen
Healthy hives keep a “ring of food” around the brood nest.
You want to see:
- Capped honey: White or light wax cappings over thick nectar.
- Pollen bands: Rainbow arcs of pollen around or beside brood.
Why it matters:
- Honey is winter fuel and insurance against dearth.
- Pollen is vital protein for raising young bees.
If food frames are sparse during a nectar gap, consider feeding.
2. Brood Frames: Eggs, Larvae, and Capped Cells
The brood nest shows how well your queen and workers are doing.
Look for:
- Eggs: Tiny, rice‑grain specks standing in the bottom of cells. Presence of eggs tells you the queen was laying in the last 1–3 days.
- Young larvae (open brood): C‑shaped, white grubs in a bed of royal jelly.
- Capped brood: Uniform tan cappings in a mostly solid pattern.
A good brood pattern is:
- Dense, with few empty cells in the central area
- Shaped like a football or oval across the frame
Scattered brood with many empty cells can signal problems: a failing queen, drones from a queen that mated poorly, or disease.
3. Queen Cells: Swarm or Emergency?
Queen cells tell you about your colony’s plans.
- Swarm cells: Usually along the bottom or edges of frames, elongated “peanuts.” Many at once suggests swarm prep.
- Supersedure cells: Often near the middle of frames. The colony is replacing a queen they don’t like.
- Emergency cells: Built around existing worker eggs or larvae after a sudden queen loss.
Why it matters:
Your response will differ:
- Lots of swarm cells in a crowded hive? You may want to split the colony.
- A couple of supersedure cells with a mediocre brood pattern? Let them replace her.
Using Honeybee Biology to Guide Your Decisions
Understanding a few key biological rhythms helps you manage hives more confidently.
Brood Timeline Cheat Sheet
- Egg: ~3 days
- Larva: ~6 days
- Capped pupa: ~12 days for workers, ~14 for drones
- Worker from egg to adult: ~21 days
This means:
- If you see only capped brood and no eggs or larvae, the queen may have been gone for a week or more.
- If you give a queenless hive a frame with eggs, they can raise a new queen as long as they start on young larvae.
Seasonal Patterns Inside the Hive
- Spring: Rapid brood expansion, lots of pollen, increasing drone numbers.
- Summer: Large brood nest, nectar being stored aggressively, potential swarming if crowded.
- Fall: Shrinking brood nest, honey stores being capped, drones being pushed out.
- Winter: Little to no brood for stretches; bees cluster around remaining stores.
When your inspections match what the season predicts, you can relax a bit. If they don’t, that’s a cue to look more closely.
Making Decisions: A Practical Hierarchy
A simple way to make hive management choices during an inspection is to follow this priority order.
1. Is the Colony Queen‑Right?
Signs of a queen‑right hive:
- Eggs and all stages of brood (in season).
- Organized brood pattern.
- Workers behaving calmly on the comb.
If you’re truly queenless (no eggs, no young larvae, roaring sound when you open), options include:
- Combine with a strong colony using newspaper.
- Introduce a mated queen.
- Give a frame with eggs from another hive so they can raise their own.
2. Do They Have Enough Food?
Use your judgment based on season:
- Early spring: Light stores + cold weather demand feeding.
- Summer flow: They mostly feed themselves unless there’s a dearth.
- Fall: Underweight hives need heavy syrup before it’s too cold.
If you can lift the back of the hive effortlessly, it’s likely underweight.
3. Do They Have Enough Space?
Crowding can trigger swarming and grumpy bees.
- When 7–8 of 10 frames in a box are drawn and actively used, think about adding another box.
- During nectar flow, ensure honey supers are on before the colony is jam‑packed.
4. Are There Signs of Disease or Heavy Mite Pressure?
Red flags:
- Sunken, perforated cappings on brood.
- Larvae discolored or twisted in cells.
- Deformed wings on adult bees (often Varroa‑related).
Routine mite checks (sugar roll or alcohol wash) are part of good management; timing and treatments depend on your local guidance.
Gentle Troubleshooting: Common Scenarios and Next Steps
Scenario 1: Lots of Bees, Little Brood
Possible causes:
- The queen recently died or stopped laying.
- They swarmed and the new queen isn’t mated or laying yet.
What to do:
- Look for queen cells and judge their stage.
- If you see a few capped queen cells and no eggs, you may be in a “queening period.” Wait 7–10 days, then recheck before intervening.
Scenario 2: Spotty Brood and Many Drones
Lots of drones in worker cells can mean a drone‑layer:
- An unmated or poorly mated queen
- Or laying workers in a long‑queenless colony
What to do:
- If you clearly see a queen and spotty brood early in the season, consider requeening.
- Laying worker situations are complex; often, combining the colony with a strong, queen‑right hive is the most practical solution.
Scenario 3: Bees Seem Defensive All of a Sudden
Ask:
- Has the queen been recently replaced? New genetics may be more hot.
- Are they being robbed by other bees or wasps?
- Is there a nectar dearth or bad weather pattern?
What to do:
- Inspect on better weather days; shorten interventions.
- Reduce entrances to help guard against robbing.
- If temperament stays hot for weeks, plan to requeen with gentler stock.
Building a Personal Inspection Log
Memories blur. A simple log turns your inspections into a clear story over time.
Include in your notes:
- Date, temperature, and weather
- Strength estimate (frames of bees, brood, and stores)
- Any queen cells or signs of swarming
- Actions taken (added boxes, fed, treated, etc.)
- Questions to follow up on next time
After a season, patterns will jump out: which hives winter best, when flows start and end, which queens produce gentle, productive colonies.
A Calm Ending: Closing Up the Hive
When you’ve answered your main questions:
- Gently replace frames in their original order.
- Brush or nudge bees off box rims so you don’t crush them.
- Replace inner and outer covers carefully.
- Step back and watch the entrance for a minute or two.
You’ll often see fanning bees at the entrance, spreading the colony’s scent so returning foragers know “home” is back to normal.
Growing With Your Bees
Every hive inspection is both a checkup and a lesson. Over time, you’ll rely less on rigid checklists and more on a sense of what’s normal for your bees:
- You’ll remember how heavy the hive felt before last winter.
- You’ll recognize the sound of a happy, humming colony versus an agitated one.
- You’ll trust yourself to act—or consciously not act—based on what you see.
Hive management doesn’t mean constant meddling. It means showing up regularly, paying close attention, and making small adjustments that help the bees do what they already do best.
If you approach the hive with curiosity and respect, your inspection routine will become a comfortable ritual—for you and your bees—and a foundation for many seasons of healthy, productive colonies in your backyard.