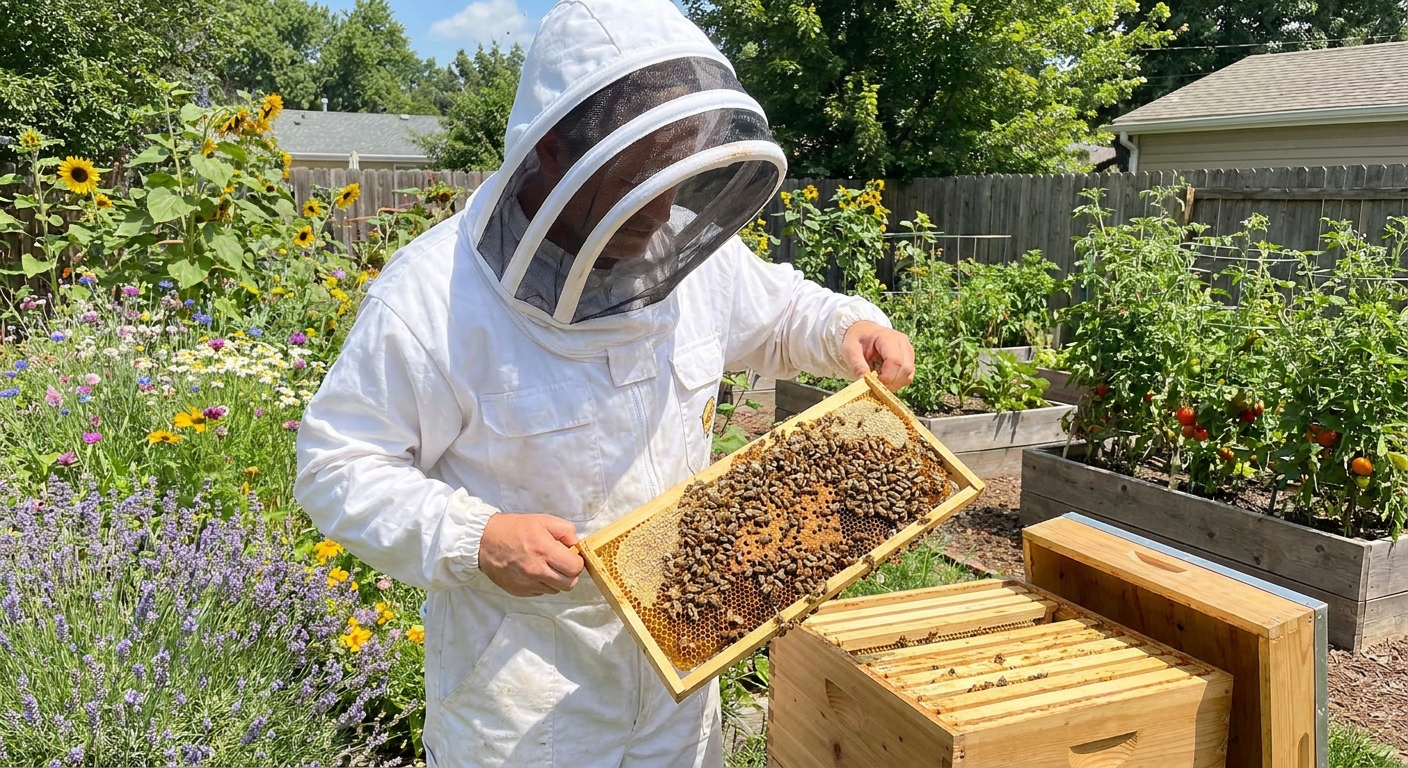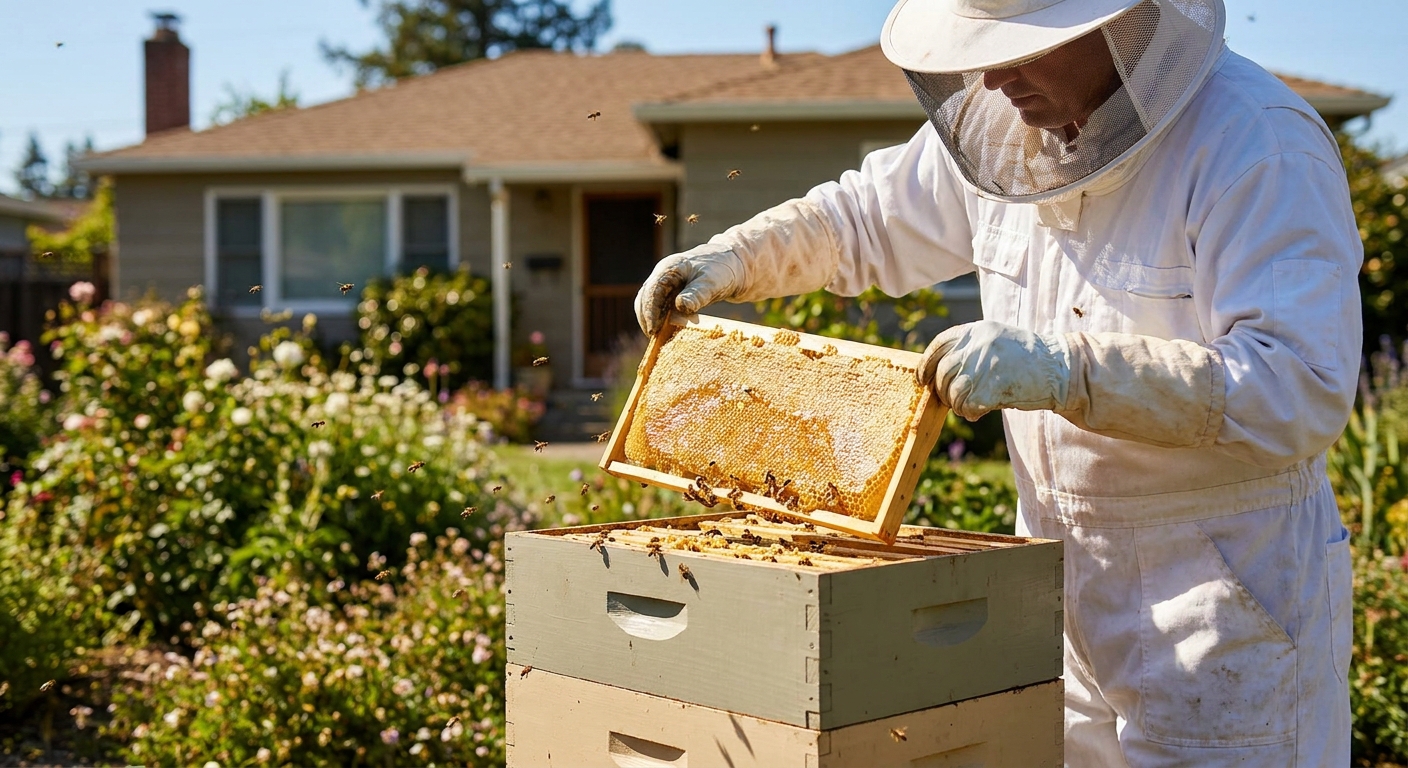
Starting beekeeping is a bit like learning a musical instrument: at first it feels awkward, but with regular practice and a few good habits, everything begins to flow. This guide walks you from setup through your first year, with practical tips rooted in real backyard beekeeping.
Welcome to Your First Hive
We’ll look at:
- What your bees actually need
- How to work a hive calmly and safely
- Seasonal tasks through the beekeeping year
- Basic honeybee biology (so their behavior makes more sense)
- Gentle troubleshooting when things don’t go to plan
Understanding Your Bees: A Quick Biology Primer
Before you pick up a hive tool, it helps to know who lives in the box.
The Three Castes
1. The Queen
- One per hive (usually)
- Her main job is to lay eggs – up to 1,500+ a day in peak season
- Her pheromones hold the colony together and influence behavior
A good queen lays in a tight, solid pattern with few empty cells in the brood area.
2. Worker Bees
- All female, and the majority of the colony (tens of thousands)
- Jobs change with age: cleaners, nurses, builders, guards, foragers
- Lifespan: about 5–6 weeks in summer, much longer in winter
- Male bees, larger eyes, blunter abdomens
- Their main job is to mate with queens from other colonies
- No stinger, do not forage or care for brood
3. Drones
The Brood Nest
Look for three main types of brood during inspections:
- Eggs: tiny white “grains of rice” at cell bottoms; stand upright when first laid
- Larvae: white grubs curled in cells, swimming in royal jelly/bee bread
- Capped brood: tan/caramel-colored domes; almost-ready adult bees inside
Seeing all three stages tells you there’s been a laying queen active in the last 21 days.
Setting Up: Gear That Actually Matters
You don’t need every shiny gadget in the catalog. Start with the basics:
- Hive bodies and frames (Langstroth is most common for beginners)
- Bottom board, inner cover, outer cover
- Smoker and fuel (pine needles, untreated burlap, wood pellets)
- Hive tool (your “bee crowbar”)
- Protective gear: veil at minimum; jacket and gloves if you’re new
- Feeder: for spring packages/nucs and fall feeding when needed
Buy one extra box and a few spare frames from the start. Your bees will grow faster than you expect when conditions are good.
How to Do a Calm, Effective Hive Inspection
Think of an inspection as a focused, 10–20 minute checkup, not a full disassembly every time.
Before You Open the Hive
- Choose a warm, calm day (60°F / 15°C or warmer).
- Avoid heavy nectar flows early in your learning—bees can be more defensive.
- Wear your veil every time, even for “just a quick peek.”
- Light your smoker properly; you want cool, white smoke, not sparks.
Step‑by‑Step Inspection Routine
- Approach from the back or side. Watch the entrance for a minute. Are bees bringing in pollen? Are they flying calmly?
- Give 2–3 gentle puffs of smoke at the entrance and under the lid. Wait about 30 seconds.
- Remove the outer cover and inner cover slowly, using your hive tool.
- Start with an outer frame. Pry it gently, lift it straight up, and check for bees, brood, or honey.
- Move inward one frame at a time. Keep frames over the hive so dropped bees fall back in.
Look for the three big questions:
- Do I have eggs/larvae/capped brood? - Is there food (nectar/honey and pollen)? - How does the temperament feel (calm, nervous, aggressive)? 7. Check for space. Are brood frames crowded? Are bees building comb between frames or on the lid? That may mean they need another box soon. 8. Re‑assemble gently. Push frames back together firmly to maintain bee space, replace covers, and give a final puff of smoke if needed.
Take a few notes after you’re done—date, what you saw, and any concerns. These notes become gold when you’re trying to see patterns over months.
Your First Beekeeping Year: Seasonal Tasks
Spring: Build‑Up and Foundations
- Install your bees (package or nuc) when weather allows and flowers are available.
- Feed 1:1 sugar syrup if natural nectar is scarce or your colony is just starting.
- Inspect every 7–10 days early on. Look for brood, stores, and comb building.
- Add another brood box or super when 7–8 of 10 frames are drawn and covered with bees.
Watch for: chilled brood in cold snaps, too much space too fast, and queenless starts.
Summer: Growth, Honey, and Swarms
- Nectar flows are usually strongest now; your bees will expand quickly.
- Continue inspections every 10–14 days. You’re watching for:
- Crowding and backfilling of brood nest with nectar
- Swarm signs: queen cells along the bottoms of frames, congestion
- Healthy brood pattern and plenty of pollen
Add honey supers ahead of need. If your hive is strong and healthy, this is when you’ll likely collect your first surplus honey.
Fall: Prepare for Winter
- Begin reducing inspections as weather cools; open the hive only when needed.
- Assess food stores: many regions aim for 60+ lbs (about 2 deep boxes mostly full) of honey.
- If stores are light, feed 2:1 sugar syrup until they’re adequate or the weather turns too cold.
- Consider a mite count and appropriate treatment following local best practices.
- Reduce entrances if robbing is an issue and install mouse guards where needed.
Winter: Rest and Quiet Checks
- Avoid opening the hive unless there’s an emergency.
- On warmer days, simply check:
- Is the hive dry (no water leaking in)?
- Is the entrance clear of dead bees and snow?
- In late winter, if bees are light on stores, consider fondant or winter patties over the cluster.
Gentle Troubleshooting for Common Beginner Worries
“I Can’t Find My Queen!”
This happens to everyone.
Look instead for signs of the queen:
- Fresh eggs in many cells
- Young larvae
- A solid pattern of capped brood
If you see all that, relax. You likely have a queen, even if she’s playing hide and seek.
“Are My Bees Too Aggressive?”
Some defensiveness is normal, but watch for:
- Bees head‑butting your veil repeatedly
- Stinging with little provocation
- Chasing you several yards from the hive
First, check simple causes: dark clothing, strong scents, rough handling, bad weather, or a recent storm. If the temperament is consistently hot over weeks, you may need to re‑queen with gentler stock, ideally from local breeders.
“There Are Queen Cells—Is That Always Bad?”
Not always.
- On the bottom bars: often swarm cells (colony is preparing to swarm).
- In the middle of frames: often supersedure cells (replacing a failing queen).
- Add space (more boxes)
- Relieve crowding in the brood nest
- Consider making a split if you’re ready for a second colony
Swarm signs plus congestion mean you should:
Building a Confident Beekeeping Habit
The real secret to successful backyard beekeeping isn’t a special gadget; it’s steady, observant attention. With each inspection, ask yourself:
Do they have a laying queen?
Do they have enough food and space?
Do they look healthy and reasonably calm?
If you can answer “yes” to those three questions most of the year, you’re doing well.
Be patient with yourself. Experienced beekeepers still make mistakes and lose colonies sometimes. Each season teaches you something new about how bees respond to your local climate, forage, and management.
Stick with it, keep good notes, learn from other beekeepers—and your first hive won’t be your last.