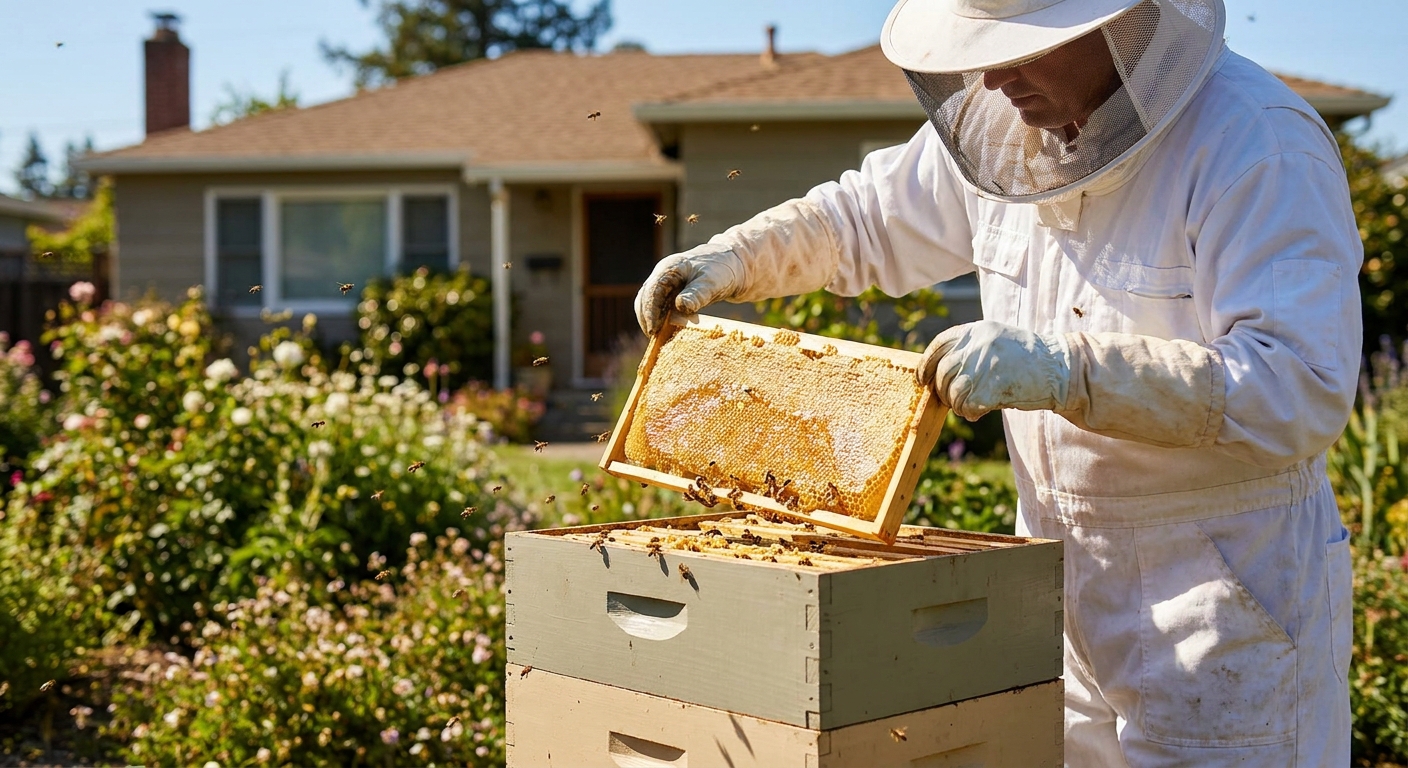
Successful beekeeping is less about equipment and more about learning to read what your bees are telling you. The sound, smell, and look of a hive reveal almost everything you need to know.
Why “Reading the Hive” Matters More Than Fancy Gear
This article focuses on 10 practical skills that help you interpret your colony’s signals: from seasonal timing and basic biology to gentle problem‑solving. Think of it as a field guide you can grow into over several seasons.
1. Listening to Bee Behavior
Before you crack open a hive, just stand beside it.
Notice:
- Flight pattern: Are bees coming and going steadily, or is it frantic and disorganized?
- Entrance behavior: Are bees bringing in pollen (yellow, orange, white “pants” on their legs)?
- Sound: A content hive has a steady, low hum; a queenless or disturbed hive often sounds higher‑pitched and nervous.
Simply watching for a minute or two before each inspection builds your instincts faster than any book.
2. Recognizing Normal Comb and Brood Patterns
Open the hive and look for a clear structure:
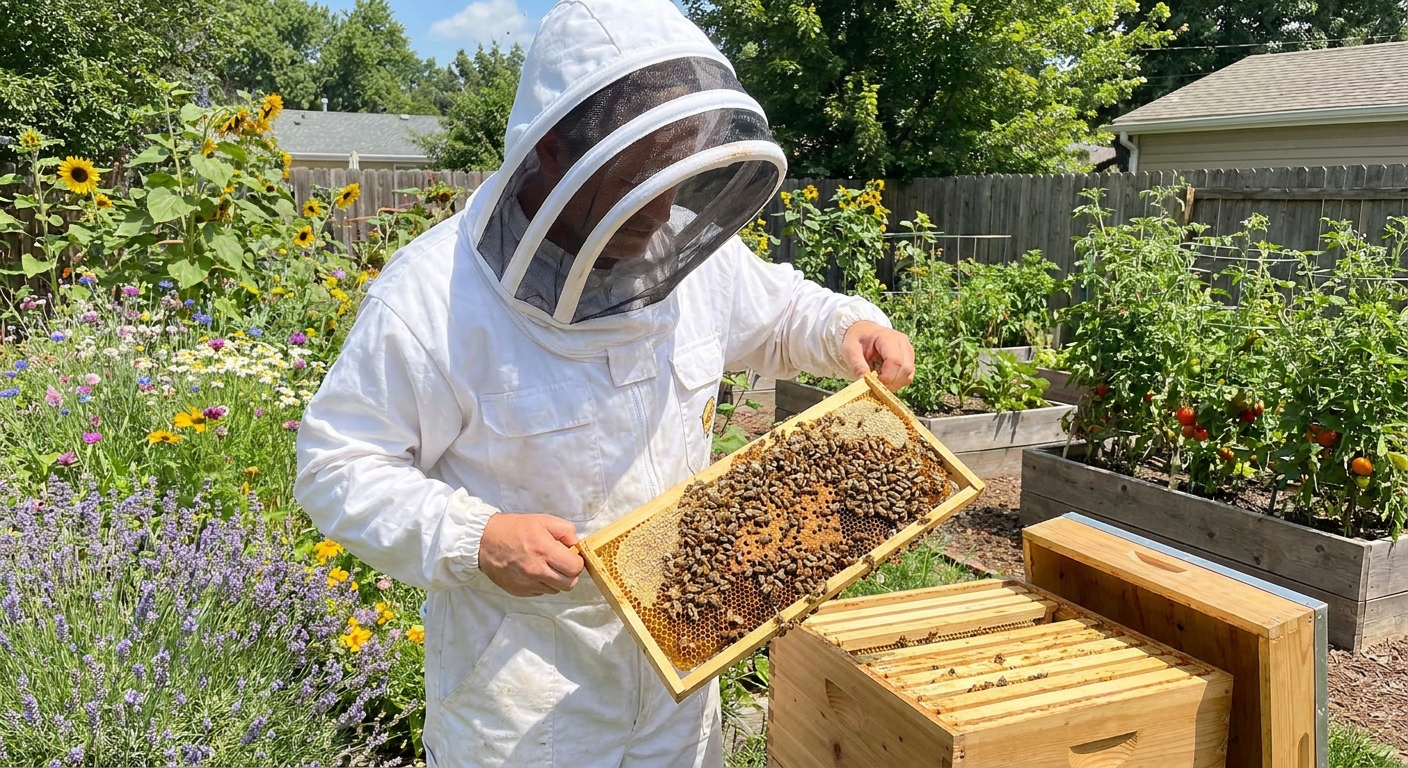
- Brood in the center, in a solid, football‑shaped pattern
- Pollen around the brood, like a colorful ring
- Honey and nectar in an outer ring and upper frames
- Has few empty cells scattered in the middle
- Shows all stages: eggs, larvae, capped brood
A healthy brood pattern:
Spotty brood (lots of empty cells and sunken or perforated caps) can signal problems, from an aging queen to disease. Don’t panic—but do make a note and compare on your next visit.
3. Understanding Who’s Who: A Quick Biology Refresher
Being able to quickly spot different castes and stages makes every inspection clearer.
- Workers: smaller, with pollen baskets on hind legs; the backbone of the colony.
- Drones: larger eyes and rounder bodies; often hang on the outer frames or near the top.
- Queen: longer abdomen, often moving with purpose, surrounded by a retinue of workers.
- Eggs: hard to see without angling the frame toward the sun; seeing them means the queen was there within the last 3 days.
- Larvae: milky white curves; early larvae float in royal jelly, older larvae are larger and more segmented.
- Capped brood: even, slightly domed tan caps; these will emerge in about 12 days for workers.
Brood stages:
Learning to distinguish these quickly lets you answer: Do I have a functioning queen and a growing colony?
4. Seasonal Timing: Doing the Right Work at the Right Time
The same action can help or hurt your bees depending on when you do it.
Spring
Focus on:
- Confirming you have a laying queen
- Ensuring they have enough food until nectar flows
- Adding space as the hive grows
Brief inspections every 7–10 days help catch swarm signs early.
Summer
Main tasks:
- Prevent overcrowding; add supers before bees fill every available cell
- Watch for swarming and signs of stress (overheating, bearding, robbing)
- Ensure good ventilation and shade in very hot climates
Fall
Priorities:
- Check and boost food stores as needed
- Reduce entrance size if robbing is an issue
- Treat for mites following local recommendations
- Consolidate the brood nest and avoid unnecessary disruptions
Winter
Your job is to keep them dry and undisturbed:
- Check for moisture and blocked entrances
- Heft the hive from the back to estimate remaining stores
- Add emergency feed (like fondant) if the colony is light and weather allows
5. Mastering a Calm Inspection Technique
A gentle, methodical inspection style keeps both you and the bees calmer.
Practical habits:
- Work from the side or back, not directly in front of the entrance.
- Move slowly and deliberately, avoiding sudden jerks.
- Use the smoker sparingly: a few puffs at the entrance and under the lid, then set aside.
- Hold frames over the hive body so if bees fall, they land back home.
- Avoid crushing bees when replacing frames; press frames together gently but firmly.
Calm bees are easier to read. If the hive gets loud and agitated, pause, close up, and try again another day.
6. Checking Food and Space Like a Pro
Each inspection, ask two simple questions:
Do they have enough food?
- Look for frames heavy with nectar/honey and visible pollen stores. - In spring, light colonies may need 1:1 syrup. In late summer/fall, 2:1 syrup is common.
Do they have enough space?
- When 7–8 of 10 frames in a box are fully drawn and covered with bees, it’s time to add another box. - Lack of space for the queen to lay often triggers swarming.
Regularly checking these two basics prevents many problems long before they become emergencies.
7. Identifying Queen Issues Early
A queen doesn’t have to go missing for the hive to struggle. Watch for subtle signs:
- Declining brood pattern: from solid to patchy over several weeks
- More drones than usual mixed into the worker brood area
- No eggs but presence of older brood: suggests the queen has recently failed or been lost
If you see multiple eggs per cell, eggs stuck to cell walls, and erratic brood, you may have laying workers—a more complex problem that’s easier to avoid than fix.
When in doubt:
- Give the colony a frame of fresh eggs/young larvae from a strong hive (if you have one).
- If they start queen cells, they likely know they’re queenless and are trying to recover.
8. Spotting Early Stress: Heat, Robbing, and Pests
Heat Stress
Signs:
- Bees bearding in large clusters on the front of the hive on hot evenings
- Bees fanning at the entrance
- Provide shade in extreme heat, especially late afternoon
- Ensure good ventilation (slightly propped inner cover, upper entrance if appropriate)
Actions:
Robbing
Signs:
- Bees fighting at the entrance
- Torn wax cappings and panic in the robbed hive
- Sudden, loud roaring sound inside a weak colony
- Reduce entrance openings, especially on weaker hives
- Keep syrup feeding inside the hive, not open in the yard
Actions:
Pests
- Ants: often a nuisance more than a crisis; use barriers and keep stands clean.
- Wax moths: usually a sign of a weak colony or neglected comb.
- Small hive beetle (where present): watch for slimed comb; keep colonies strong and avoid excess empty comb.
Strong, well‑fed colonies are naturally better at defending themselves.
9. Using Your Nose and Eyes: Moisture and Disease Checks
Your senses are valuable tools.
- A healthy hive usually has a warm, slightly sweet scent, sometimes with a waxy or floral note.
- A sour, foul, or rotting smell is a red flag—especially if combined with sunken, punctured brood caps.
- Excess moisture: condensation on inner covers or mold on frames. Improve ventilation and tilt hives slightly forward to let water drain.
- Unusual brood: twisted larvae, discolored brood, or “melted” appearance. When something looks wrong, photograph it and compare with trusted disease guides or ask a mentor.
Look for:
If you suspect a serious disease (like American foulbrood), stop moving equipment between colonies and consult local beekeeping associations or inspectors.
10. Keeping a Simple Hive Log
You don’t need elaborate software—a notebook or spreadsheet works fine. After each inspection, jot down:
- Date and weather
- Strength estimate (frames of bees, brood, and stores)
- Queen status (sighted or just evidence of eggs/young brood)
- Temperament (calm, moderate, hot)
- Actions taken (added space, fed, treated, etc.)
- Questions or worries to recheck next time
- How your local nectar flows line up with the calendar
- Which hive families are naturally gentle and productive
- Early patterns before problems become visible to the eye alone
Over a season, these notes help you see:
Gentle Troubleshooting: When Something Feels Off
When your instincts say, “This hive isn’t right,” slow down and work through a simple checklist:
Queen and brood: Are there eggs and young larvae?
Food: Does the hive feel heavy enough? Are there frames of honey/nectar and visible pollen?
Population: Are there enough bees to cover the brood and defend the hive?
Behavior: More defensive, unusually quiet, or frantic?
Physical signs: Moisture, odd smells, unusual brood, pests?
Address the simplest causes first—food, space, and queen status. Many issues in backyard beekeeping come back to these basics.
When you’re unsure, take photos, close up gently, and ask for help from a local club or experienced beekeeper. A fresh set of eyes often turns a mystery into a teachable moment.
Growing Into a Confident Backyard Beekeeper
Learning to read a hive is a skill you build inspection by inspection, season by season. You don’t have to get it perfect; you just have to show up consistently, pay attention, and adjust.
Over time, you’ll notice that:
- Sounds make more sense
- Patterns in brood and stores become obvious
- Your seasonal timing feels more natural
That’s when beekeeping shifts from a list of chores into a conversation with your bees—one that can last for many years, a few hives, and more jars of honey than you ever expected.