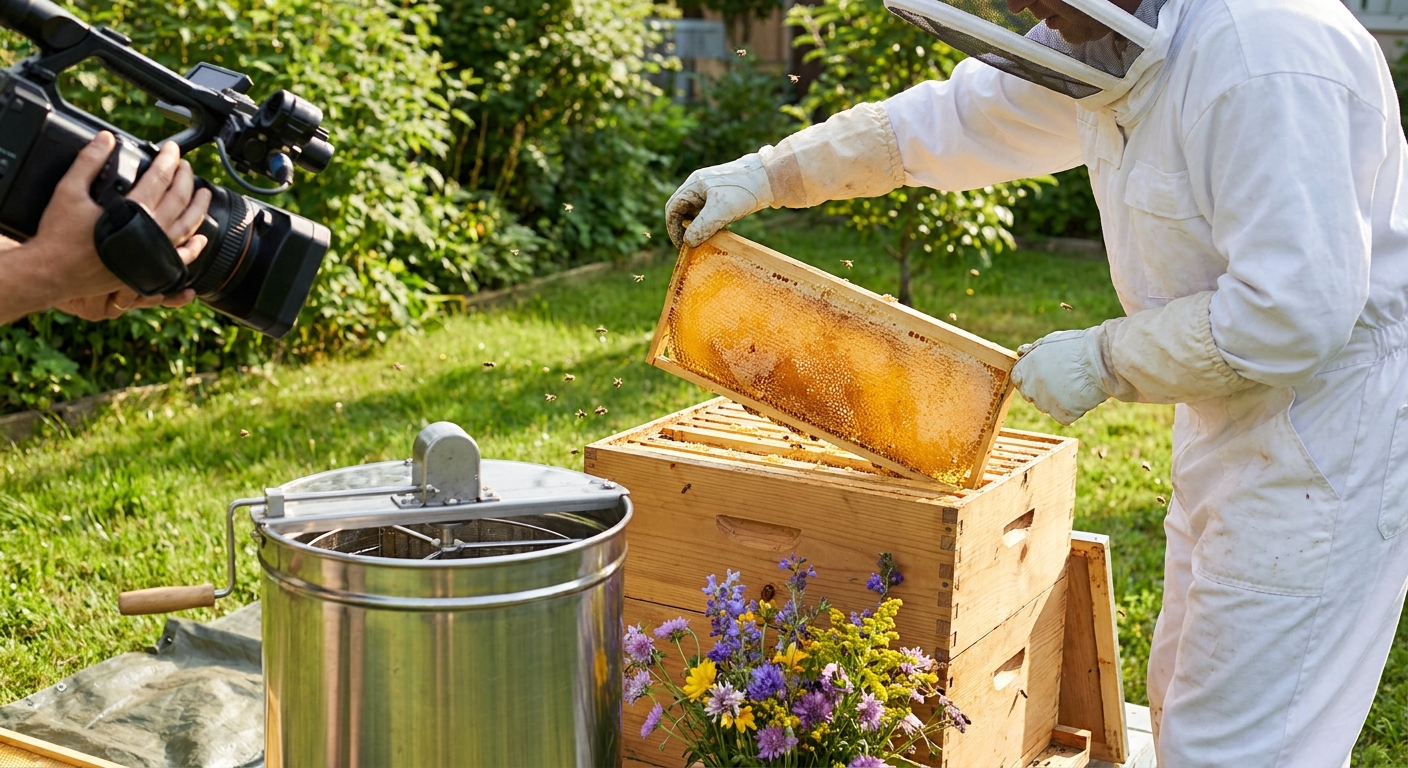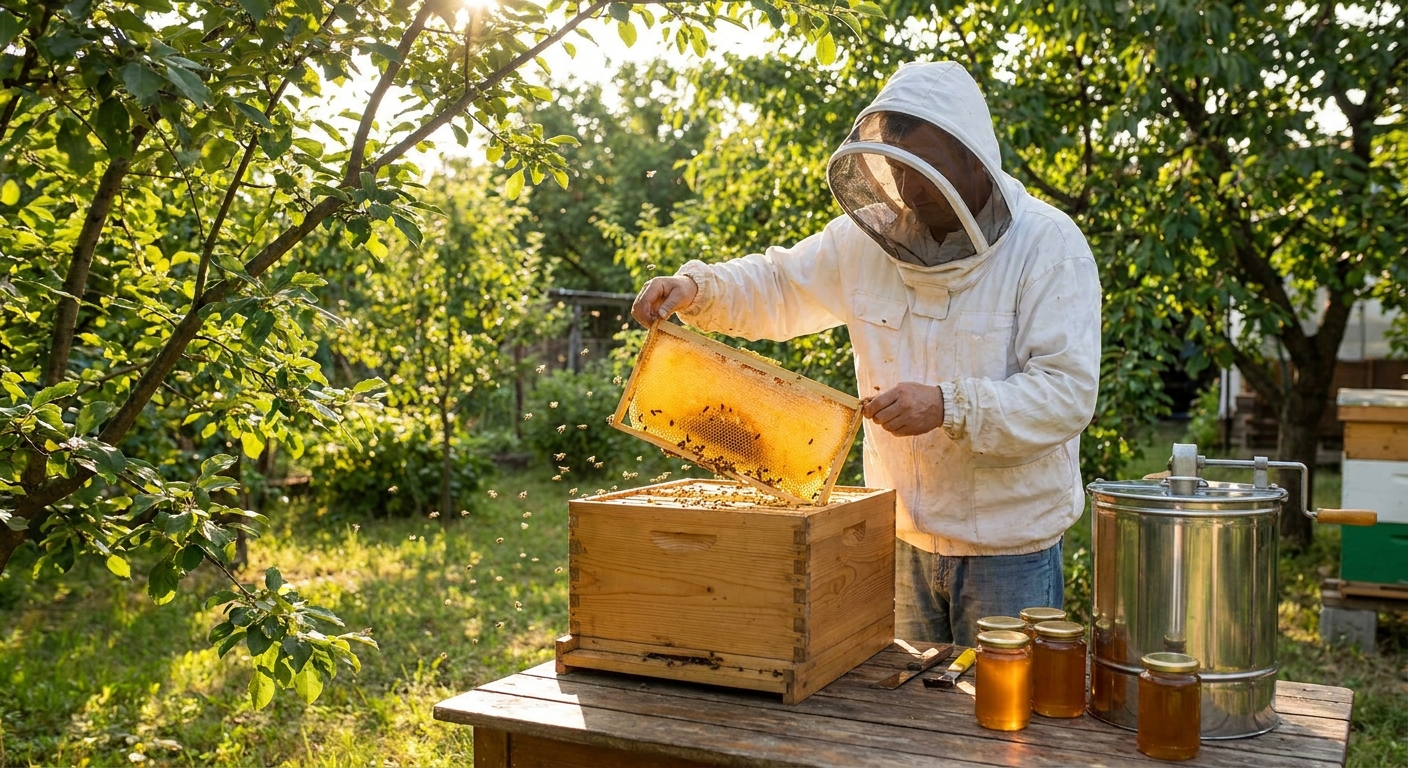
The first time you pull a honey‑heavy frame from your hive, you feel it in your hands as much as in your heart. It’s exciting, a little intimidating, and usually stickier than you expected.
Introduction: Your First Honey Harvest Doesn’t Have to Be Scary
This guide walks you, season by season, through a backyard‑scale honey harvest. We’ll cover how to know when honey is ready, what’s happening inside the hive biologically, how to pull frames without causing chaos, and how to troubleshoot common issues gently.
Understanding the Bees’ Timeline: How Honey Actually Happens
Before we talk about harvest, it helps to understand what honey is from the bees’ point of view.
The Honey‑Making Process in Simple Terms
Field bees collect nectar
Foragers visit flowers and suck up nectar into their honey stomach. Back at the hive, they pass it mouth‑to‑mouth to house bees.
House bees process the nectar
House bees add enzymes (like invertase) that break down complex sugars into simpler ones and help preserve the nectar.
Evaporation & dehydration
The bees spread the nectar in thin films across the comb and fan their wings to evaporate excess water. Nectar may start at 70–80% water; finished honey is typically below 18%.
Capping the cells
Once the honey is ripe, bees seal the cell with a thin layer of white wax. This is your main visual cue that honey is ready to harvest.
Understanding this helps you avoid a classic beginner mistake: extracting unripe honey that ferments in the jar.
Seasonal Roadmap: When to Harvest (and When to Leave It Alone)
Timing your harvest is about balancing your needs with the bees’ survival.
Early Spring: Build‑Up, Not Harvest
- Focus: Colony growth, brood rearing, and comb building.
- Actions:
- Add supers only when brood boxes are 80–90% full of bees and resources.
- Avoid spring harvests unless your colony is exceptionally strong and has ample stores.
- Inspect every 7–10 days, watching for swarm cells and checking food levels.
The colony needs this early nectar to raise new bees and expand. Think of spring as an investment period.
Late Spring to Mid‑Summer: Main Honey Flow
This is when most backyard beekeepers get their harvest.
- Watch for:
- Heavy honey supers and lots of capped frames.
- Reduced brood nest expansion (more honey, less brood in the supers).
- Good harvest window indicators:
- At least 70–80% of honey cells on a frame are capped.
- The colony still has a solid brood pattern and pollen coming in.
Plan to harvest shortly after the main nectar flow for your region finishes—but before late‑summer dearth.
Late Summer to Fall: Winter Prep, Light Harvest Only
- Do smaller, conservative harvests if your colony has excessive stores.
- Ensure each hive has enough honey to overwinter in your climate (commonly:
- ~60–80 lb for temperate climates,
- more in colder regions; ask local clubs for benchmarks).
- This is a good time for:
- Weighing hives or using a "heft test" to check stores.
- Reducing empty space and starting varroa monitoring and treatment.
If you’re unsure whether you can take more honey late in the season, err on the side of leaving it for the bees.
How to Tell If Honey Is Ready: Three Simple Checks
1. The Capping Test
Look for frames where most cells are sealed with white wax.
- Ideal: 80–90% capped.
- Minimum: ~70% capped, only if you also check moisture.
2. The Shake Test
For partly capped frames:
- Hold the frame horizontally over the hive or grass.
- Give it a firm downward shake.
If nectar splatters out, it’s still too wet to extract. If nothing drips, it’s closer to harvest‑ready.
3. The Moisture Test (Optional but Great)
If you have a refractometer:
- Aim for ≤18% water content.
- Above 19–20% increases the risk of fermentation.
Gentle Hive Inspections Before Harvest
A calm, thorough pre‑harvest inspection protects both bees and beekeeper.
Preparation Checklist
- Work on a warm, sunny day when foragers are flying.
- Avoid harvest inspections on stormy, windy, or cold days.
- Use cool white smoke sparingly; you don’t want smoke‑tainted honey.
What to Look For
Queen‑right colony
Check for eggs or very young larvae to confirm a laying queen.
Balanced brood pattern
Solid brood frames with few empty cells suggest a healthy colony.
Disease signs
- Sunken, perforated cappings (possible foulbrood) - Deformed wings (varroa‑related virus) - Chalky white mummies (chalkbrood)
Honey distribution
- Brood mainly in lower boxes. - Honey concentrated in supers and edges/upper sections of brood boxes.
If the brood nest is honey‑bound (wall‑to‑wall honey where brood should be), consider relieving congestion with extra space before a big harvest.
Step‑by‑Step: Pulling Honey Frames Without Causing Chaos
Step 1: Set Up Your Work Area
Have ready:
- Bee brush or soft goose feather
- Escape board, fume board, or gentle bee repellent (if you use it)
- Empty super or bee‑tight box with lid for extracted frames
- Extra hive tool and a clean cloth or towel
Step 2: Clear Bees from Honey Supers
Choose your preferred method:
Bee escape board (low‑stress, slower)
- Place between brood boxes and honey supers 24 hours before harvest. - Bees can leave the supers but not re‑enter.
Fume board (faster, more intense)
- Use a commercial bee repellent like Bee‑Quick. - Place the fume board on the super for a few minutes; bees move down.
Manual brushing (slow, but precise)
- Gently brush bees off each frame back into the hive. - Good for small harvests or single‑hive beekeepers.
Step 3: Pulling the Frames
- Lift frames straight up to avoid rolling bees.
- Check for queen presence—never remove frames if you see her on them.
- Quickly inspect for brood; avoid harvesting frames with brood.
- Place bee‑free frames into your covered box to prevent robbing.
Keep entrances reduced during harvest to discourage robbing behavior, especially in late summer.
From Frame to Jar: Simple Backyard Extraction Options
You don’t need a fancy setup to enjoy your own honey.
Option 1: Crush and Strain (Great for Small Yards)
Best for:
- New beekeepers
- Natural comb or foundationless frames
How to do it:
- Cut comb from the frame into a clean food‑grade bucket.
- Crush with a potato masher or clean hands.
- Pour into a fine strainer or nylon paint strainer bag over another bucket.
- Let it strain at room temperature for several hours or overnight.
- Bottle once it’s clear and free‑flowing.
Bonus: Bees will happily clean your sticky equipment if you set it out far from the hives once you’re done.
Option 2: Spinner Extractor (Best for Reusing Comb)
If you plan long‑term beekeeping, a 2–3 frame extractor is a good investment.
Basic steps:
- Uncap honey using a hot knife or uncapping fork.
- Place frames in extractor, evenly balanced.
- Spin slowly at first, then faster, flipping frames halfway.
- Filter honey through a coarse strainer to catch wax bits and debris.
- Let it rest for bubbles to rise before bottling.
Reusing drawn comb saves your bees a lot of energy and can boost next year’s honey production.
Gentle Troubleshooting: Common Honey Harvest Issues
“My Honey Fermented in the Jar”
Likely cause: moisture was too high.
What to do:
- Use fermented honey for mead, baking, or cooking.
- Next time, rely more on the shake test and, if possible, use a refractometer.
“I Hardly Got Any Honey This Year”
Possible reasons:
- Young colony (first‑year colonies often produce just enough for themselves).
- Poor nectar flow or drought.
- Heavy varroa load or disease that distracted the colony.
Response:
- Treat this year as a building year. Strong second‑year colonies commonly make significantly more surplus.
- Focus on healthy bees, not maximum honey.
“My Bees Got Very Defensive During Harvest”
Check for:
- Weather (cool, windy, or overcast days are tougher).
- Nectar dearth (bees are more protective of stores).
- Strong robbing pressure from other hives.
Adjustments:
- Harvest midday on warm, sunny days.
- Work swiftly, avoid crushing bees, and reduce open honey exposure.
- Use an extra super or cloth to cover wet frames.
Leaving Enough for the Bees: Your Most Important Job
A generous beekeeper always asks: “Can my colony get through winter if I take this?”
Rules of thumb (adjust to your climate):
- Ensure at least one deep box nearly full of honey in mild climates.
- In colder zones, aim for 60–100 lb of stored honey.
- If you’re unsure, skip the second harvest or take only a few frames.
Remember, you can always harvest again next year—but you can’t rebuild a lost colony as easily.
Closing Thoughts: Harvest as a Conversation, Not a Raid
A good honey harvest feels less like raiding a pantry and more like a respectful conversation with your bees. You read the seasons, watch their growth, understand their biology, and only take what they can comfortably spare.
The more you work with your bees, the more you’ll develop an intuitive sense for timing, flow, and what your colonies can handle. Until then, lean on the basics:
- Wait for well‑capped honey.
- Prioritize healthy brood and ample stores.
- Work calmly and gently.
- Celebrate every sticky, golden jar as a shared achievement between you and your bees.
Your first harvest won’t be perfect—but it will be memorable. And year by year, you’ll find your own rhythm in this sweet, seasonal ritual.