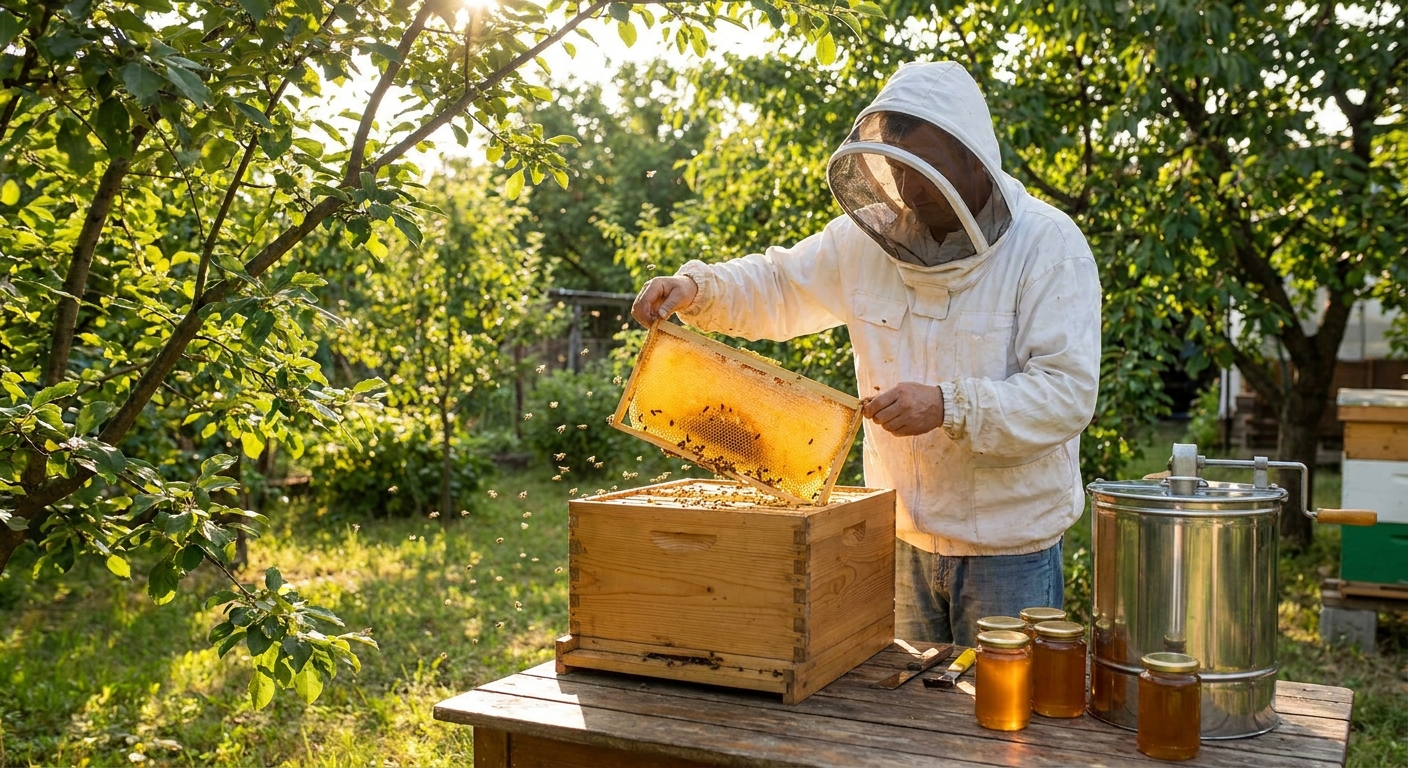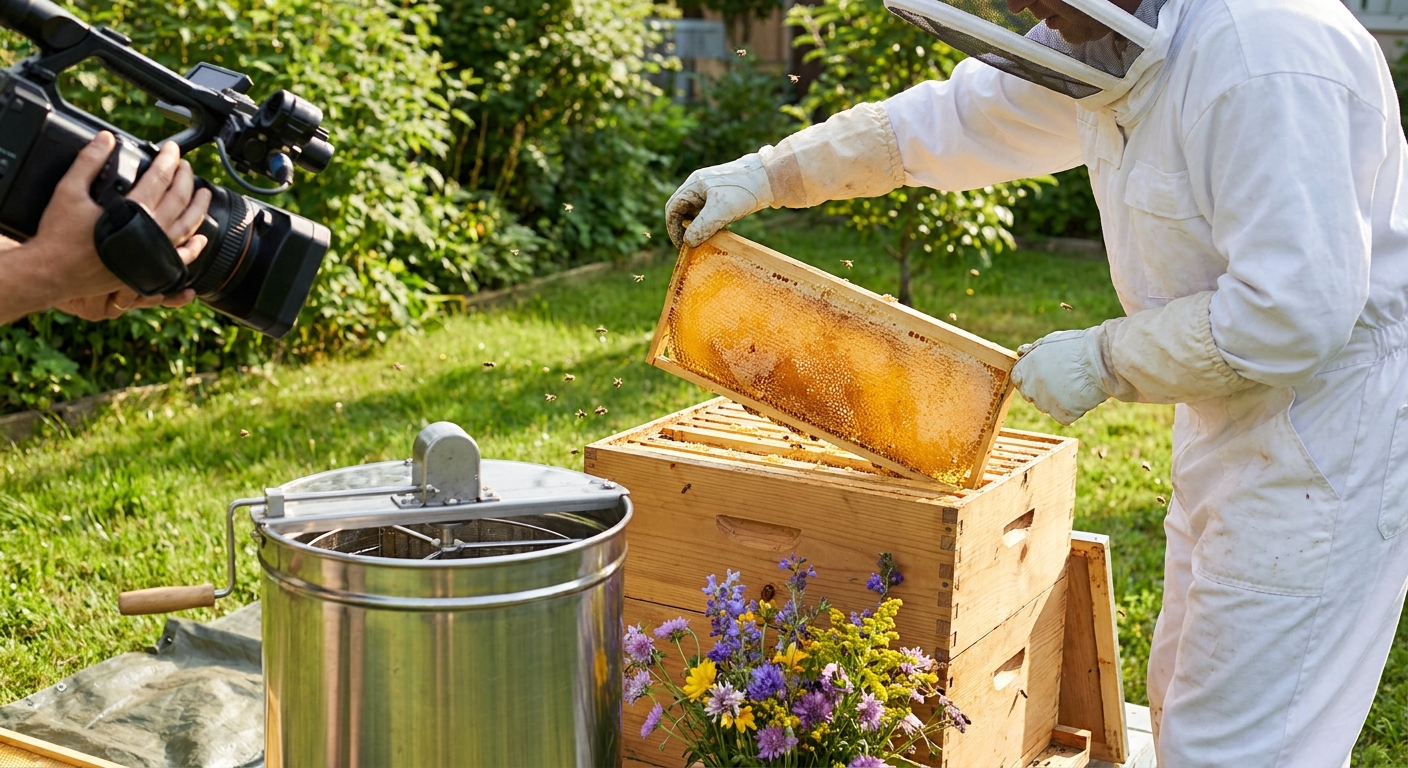
Experienced beekeepers don’t harvest by calendar date alone; they harvest by reading the hive. The super tells a story: the weight in your hands, the color of the cappings, even how the bees move across the comb.
Why the Best Honey Harvests Start With Good Observations
This article focuses on practical, observational tips for hobbyist and backyard beekeepers. Think of it as a field‑tested checklist for deciding when, what, and how to harvest, while keeping your colony healthy and calm.
Tip 1: Learn to “Feel” the Flow Through Your Bees
You don’t need fancy gadgets to know what’s happening in your forage area. Your bees will tell you.
Watch the Flight Board
Stand by the entrance for a minute or two and notice:
- Pollen baskets full?
- Tongue‑out foragers fanning at the entrance?
- Bees returning light, frantic, or aimless?
Indicates strong brood rearing and an active colony.
They’re passing nectar loads and ventilating—often a sign of a strong nectar flow.
May indicate a dearth; harvesting heavily now can stress the colony.
Listen Inside the Hive
Crack the lid and listen before you smoke:
- A steady, low hum suggests a calm, productive colony.
- A high, anxious pitch can signal queen issues, robbing, or a major disturbance.
Your harvest decisions should always account for colony mood and local nectar conditions.
Tip 2: Understand Where Bees Prefer to Store Honey in the Hive
Honey storage follows a pattern—once you recognize it, you’ll know where to look and what can safely be harvested.
Typical Layout in a Two‑Deep Hive with Supers
- Bottom deep: Mostly brood, with arcs of pollen and some honey at the top.
- Upper deep: Mix of brood and honey, transitioning to heavier honey as you move upward.
- Supers: Primarily surplus honey—this is where your harvest should come from.
Your aim: take honey from true surplus areas, not from the core brood nest or critical winter stores.
Quick Layout Check During Inspection
- Start at the bottom box and locate solid brood frames.
- Note how many frames are brood vs. honey/pollen.
- Move up one box at a time; watch for a shift from brood‑heavy to honey‑heavy frames.
If your upper brood box looks like a wall of honey with almost no brood, the colony may be honey‑bound. In that case, fix congestion first (add space, reconfigure frames) before you think about harvesting.
Tip 3: Use Cappings Color as a Clue—But Don’t Overthink It
New beekeepers often worry that darker or uneven cappings mean something’s wrong. In most cases, it’s just flower variety and comb age.
- Fresh comb + light nectar (like clover): very white, clean cappings.
- Older comb or mixed nectar sources: more off‑white or slightly darker cappings.
What matters more than color:
- Are the cappings domed and waxy, not sunken or perforated?
- Are cells fully capped across most of the frame?
- Does the surface look relatively even, without wet, open patches of nectar?
Trust the bees’ judgment: once they cap it, they consider it finished honey.
Tip 4: Combine Tools for Confident “Ripe Honey” Decisions
Think of ripeness assessment as a quick, three‑part test:
1. Visual Check
- Target frames that are 70–100% capped.
- A few open cells along the bottom edge are usually fine.
2. Shake or Tap Test
- Hold the frame horizontally over the hive.
- Give it a firm shake or tap with your hand.
If droplets fly out of uncapped cells, that nectar is still too wet for comfortable storage in jars.
3. Optional: Moisture Reading
If you keep a honey refractometer (they’re relatively inexpensive and last for years):
- Ideal harvest: ≤18% water.
- 18–19% is usually acceptable if you’ll eat it within a year and store it cool.
Using all three together gives you the confidence to know you’re bottling stable, long‑keeping honey.
Tip 5: Plan Your Harvest Day Like a Bee‑Safe Operation
A smooth harvest is all about preparation. The less chaos, the fewer bees get upset.
Choose the Right Day and Time
- Midday on a warm, dry, sunny day is best—many foragers will be out.
- Avoid harvests right before storms or during strong nectar dearths.
Set Up Your “Honey Path”
Before you open the hive, know your plan:
- Where will you put full frames as you pull them? (A covered super or box)
- Where will you extract? (Inside, away from the apiary is best)
- How will you limit robbing? (Entrance reducers, minimal exposed honey)
A bit of forethought prevents bee traffic jams and keeps the mood gentle.
Tip 6: Use Bee‑Friendly Clearing Methods
You don’t have to fill your supers with smoke or chemicals to get the bees out.
Bee Escape Boards: Low Drama, High Success
- Install beneath honey supers 24–48 hours before harvest.
- Bees move down but can’t easily return.
- The next day, supers are mostly bee‑free.
This method is especially good for small apiaries where you can’t afford to stress your only hive.
Shaking and Brushing: Slow but Precise
For very small harvests:
- Gently shake most bees off each frame over the hive box.
- Use a soft brush or feather to sweep off stragglers.
Tips:
- Brush with light, sweeping motions; jabby brushing irritates bees.
- Keep pulled frames covered as much as possible.
Tip 7: Match Your Extraction Method to Your Scale and Goals
You don’t have to buy a stainless‑steel setup in year one. Choose what actually fits your backyard life.
If You Have 1–2 Hives: Crush‑and‑Strain Is Your Friend
Pros:
- Inexpensive, simple, little equipment required.
- Perfect for foundationless frames or natural comb.
- Easy to do in a kitchen or small space.
Cons:
- You destroy comb, so bees must rebuild it.
- More wax particles to strain out.
If You Have Multiple Hives: A Small Extractor Pays Off
Pros:
- Preserves comb (saves bees energy next season).
- Faster for larger harvests.
- Cleaner, clearer honey with minimal straining.
Cons:
- Higher up‑front cost.
You can often borrow or share an extractor through a local beekeeping club to test before buying.
Tip 8: Protect Comb and Honey from Heat and Light
Honey is remarkably stable, but it’s not indestructible.
During Extraction
- Keep honey supers and buckets out of direct sun.
- Avoid prolonged high heat; warm honey (around 30–35°C / 86–95°F) flows better, but don’t cook it.
During Storage
- Store honey in airtight, food‑grade containers.
- Keep in a cool, dark place (a pantry or cupboard is fine).
- Avoid damp areas—honey absorbs moisture from humid air.
Properly ripened and stored honey can last for years without spoiling.
Tip 9: Use Your Honey Harvest to Check Colony Health
Harvest time is a natural checkpoint to look more closely at what your bees have been experiencing.
Inspect Cappings and Comb Carefully
As you uncap frames, watch for:
- Sunken, greasy, or perforated cappings on brood cells (a red flag for brood diseases).
- Uneven brood patterns surrounded by honey (may indicate queen problems).
- White crystals in cells—usually just granulated honey, not a problem.
Look for Varroa Clues
Even if you can’t see mites easily, you might notice their impacts:
- Bees with deformed wings or shortened abdomens.
- Patchy brood and “shotgun” patterns.
Plan your post‑harvest varroa monitoring and, if necessary, treatment. Taking off supers before certain treatments protects both honey and bees.
Tip 10: Leave a Safety Margin—Then Add a Little More
One of the most generous gifts you can give your bees is extra food. Overwintering losses are often tied to starvation or late‑winter shortages.
Simple Ways to Judge Stores
- Heft test: Carefully lift the back of the hive. Over time, you’ll learn what a “winter‑ready” hive feels like in your area.
- Frame count: Count how many frames are solid or mostly full of capped honey.
Ask local beekeepers what weight or frame count they aim for. Then add a safety margin of one or two extra frames, especially if:
- Your winters are long or variable.
- The late‑summer flow was weak.
- Your colony is large and highly active.
You can always share spring surplus or do a small early harvest if they overwinter with a big surplus—much better than emergency feeding in February.
Tip 11: Work With, Not Against, Honeybee Biology
Honey harvest goes more smoothly when you align your actions with bee behavior.
Key Biological Points to Keep in Mind
- Bees store honey above the brood:
That’s why supers work; they follow their natural vertical storage instincts.
- Nurse bees prefer stable conditions:
Long inspections that chill brood can stress the colony. Move steadily and avoid leaving boxes open.
- Foragers navigate by sun position and scent:
Big changes in hive placement or layout right before a harvest can confuse returning bees and provoke drifting or robbing.
When you work in harmony with these patterns, your bees stay calmer, and your honey harvest becomes a quiet, almost meditative task.
Tip 12: Treat Each Harvest as a Learning Log
After you finish extracting and bottling, take ten minutes to write down:
- Date and approximate nectar conditions ("clover in bloom," "after main flow," etc.).
- How many frames or supers you harvested.
- Colony temperament and brood condition.
- Any issues: robbed hives, moisture concerns, comb problems.
Over a few seasons, this modest record becomes incredibly valuable. You’ll start to see patterns:
- Which forage plants truly drive your big flows.
- How much honey you can safely take from each hive in your yard.
- Which colonies consistently overwinter well and still give surplus.
Final Thoughts: A Harvest That Respects the Hive
A good honey harvest is not about extracting every possible drop; it’s about taking the right honey at the right time in a way that keeps your colony thriving.
By learning to read the supers, watch bee behavior, and respect their seasonal rhythm, you’ll gain more than jars of honey—you’ll gain a working partnership with your bees.
Every season, your observations will sharpen, and what feels complicated now will slowly become second nature. Until then, go slowly, stay curious, and remember: a little extra honey left on the hive is never wasted. For the bees, it’s security; for you, it’s next year’s strength.