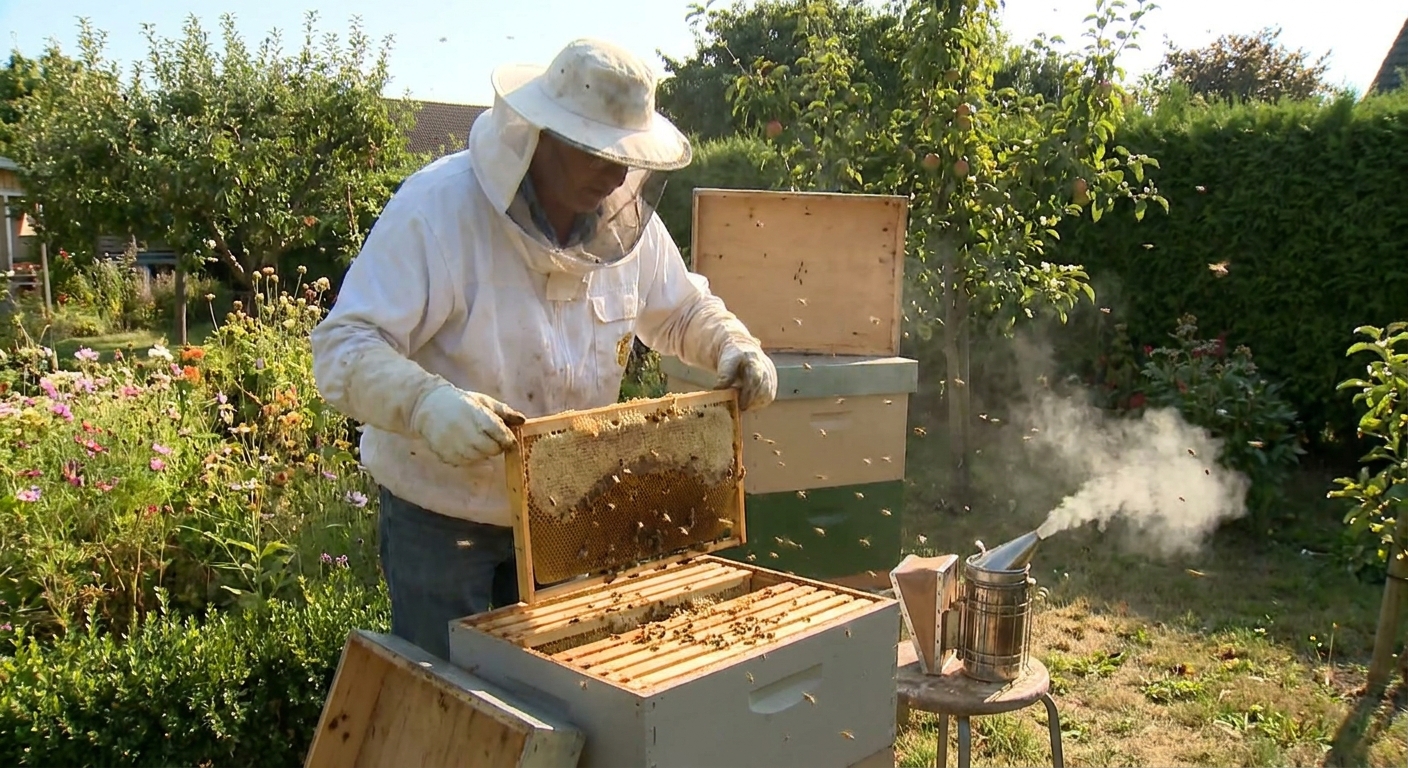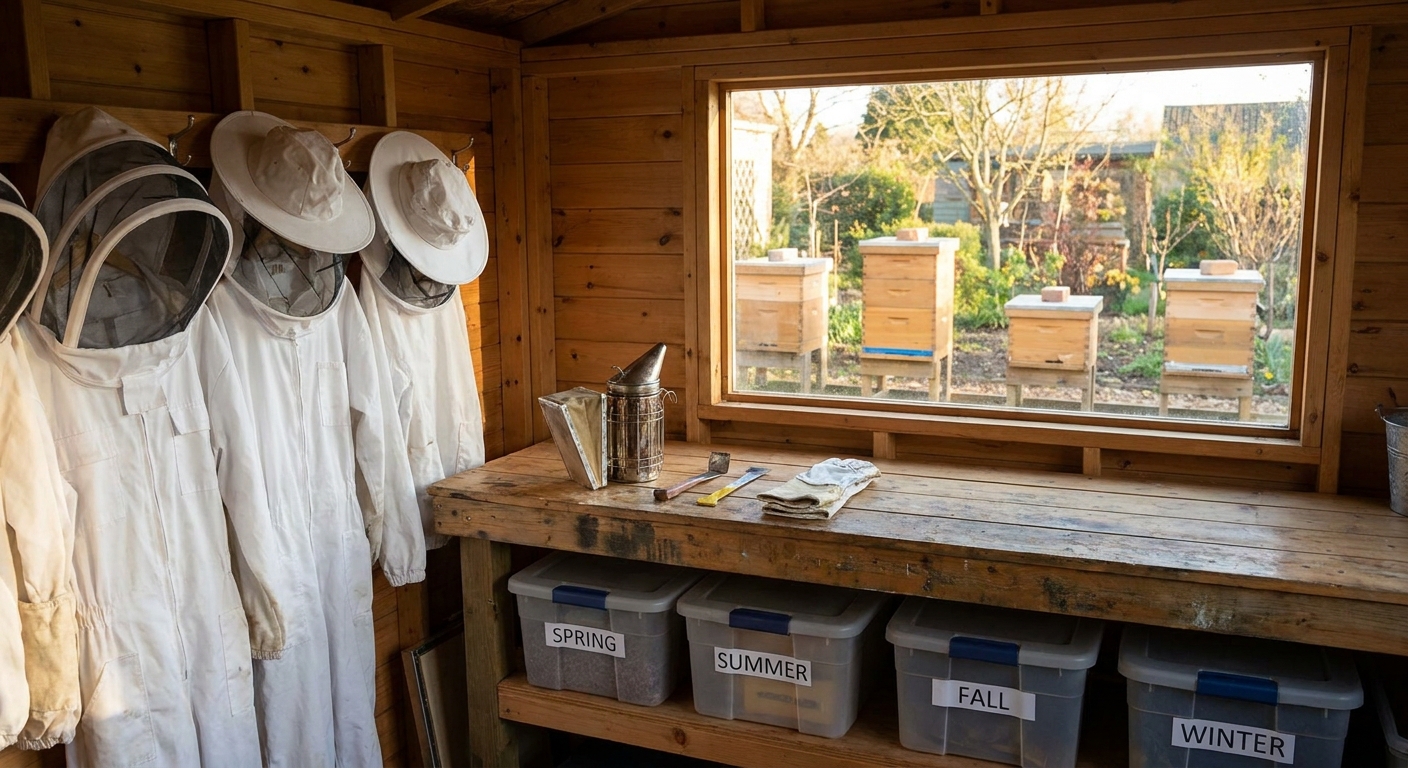
Beekeeping isn’t a one‑season hobby. It’s a year‑round relationship with a super‑organism that changes with the weather, the flowers, and the calendar. The gear you reach for in April is different from what you need in October.
Gear That Grows With Your Bees
Instead of a single shopping list, this guide follows the annual cycle of a backyard hive and shows what gear supports you—and your bees—at each step. Along the way, you’ll see how tools, honeybee biology, and inspection habits fit together.
Use this as a seasonal checklist and a gentle companion as you learn the rhythms of your own bee yard.
Late Winter to Early Spring: Listening Before Leaping
Your bees are mostly clustered, clinging to each other to maintain warmth around the queen and any early brood. Your job: observe without over‑inspecting.
Key Gear
- Warm, easy‑on veil or jacket: You may be working on cold, windy days; keep visits short.
- Hive tool: For carefully cracking propolized lids on warmer days.
- Apiary notebook or app: Record weight estimates, deadouts, and early activity.
What You’re Looking For
- Signs of life at the entrance on warm days (cleansing flights, bees bringing in early pollen).
- Hive weight: Light hives need emergency feed.
Helpful Extras
- Fondant or winter patties: For emergency feeding when it’s still too cold for liquid syrup.
- Insulation or wraps (if you’re in a very cold climate): Already in place, but this is when you evaluate their effectiveness.
Biology check‑in:
Early brood rearing strains winter stores. The colony can starve just inches from honey. A simple hive tilt and a quick lift of the lid on a warm day, with proper gear, may save a colony.
Mid to Late Spring: Growth, Swarms, and Space
This is when your gear gets its workout. Queens ramp up egg‑laying, drones appear, and colonies think about swarming if they run low on space.
Core Protective Gear
- Full suit or jacket and veil: You’ll be in the hive more often and for longer.
- Gloves with good dexterity: Goatskin or high‑quality nitrile. You’ll be handling more brood and delicate queen cells.
Tools You’ll Use Constantly
Smoker
- Keep it lit but use sparingly. - Choose reliable fuel (pine needles, pellets) so you can focus on the bees, not the flame.
Hive Tool (J‑hook recommended)
- Essential for prying frames glued with fresh propolis. - Use the hook to lift frames from the ends instead of prying from the middle and risking broken ears.
Queen Marking Gear (optional but handy)
- Marking pen in the correct color for the year. - Queen marking cage or clip.
Expansion and Swarm Prevention Gear
- Extra brood boxes and frames, ready before you think you’ll need them.
- Foundation or foundationless frames, depending on your management style.
- Nuc box for splitting a booming colony or rescuing a failing one.
Inspection Tips for This Season
- Inspect every 7–10 days during buildup.
- Look for: solid brood pattern, presence of eggs, queen cells along bottom bars.
- Use your hive tool to gently break propolis seals and rotate brood frames without rolling bees.
Troubleshooting with Gear:
If you see lots of swarm cells, your nuc box and extra equipment become your best friends. A timely split with the gear on hand can turn a potential lost swarm into a second healthy colony.
Early Summer: Honey Flow and Heat Management
Now the nectar flow is on. Colonies are large, and boxes get heavy. Good gear protects your back and your bees.
Honey Flow Essentials
- Medium or shallow supers: Easier to lift than full deeps when packed with honey.
- Queen excluder (if you use one): Keeps brood out of supers.
- Frame rest or stand: Holds frames while you inspect, reducing bee squishing.
Comfort Gear for You
- Ventilated suit or jacket if summers are hot and humid.
- Sweatband or bandana inside the veil to keep sweat out of your eyes.
- Water bottle nearby—hydrated beekeepers handle bees more patiently.
Inspection Focus Now
- Check that bees have enough space for nectar.
- Inspect brood periodically, but focus more on supering and space
- Use your smoker lightly—bees often work happily during a strong flow.
Biology note:
Foragers are flying, nectar is coming in fast, and house bees are converting it to honey. Adding supers at the right time, with your hive tool and smoker in hand, lets them work without overcrowding.
Late Summer: Mites, Robbing, and Defensive Moods
As flowers fade and nectar dries up, colonies can get more defensive. Robbing pressure increases, and Varroa mites can quietly undermine your hive.
Must‑Have Gear
Varroa Monitoring Tools
- Alcohol wash or sugar roll kit. - Jar, scoop, and mesh lid (or a ready‑made tester).
Robbing Screens and Entrance Reducers
- Helps colonies defend against wasps and robbing bees.
Secure hive straps or ratchet straps
- Keep stacked boxes stable in late‑season storms.
Reliable, secure veil and gloves
- Bees may be more protective of dwindling stores.
Gentle Inspection Strategies
- Work quicker and more confidently; minimize brood exposure.
- Keep your smoker handy and steady. Short puffs, especially around the top bars, calm bees before you remove frames.
- Avoid crushing bees on frame rests by keeping your hive tool clean and clearing burr comb as you go.
Troubleshooting with Gear:
If you notice robbing (fighting at entrances, bees wrestling on the landing board), quickly install entrance reducers and robbing screens, and avoid leaving open honey or syrup exposed.
Early Fall: Harvest and Prep for the Cold
If you’re harvesting honey, this is your most gear‑heavy moment of the year—but it doesn’t have to be complicated.
Harvest Gear Basics
- Bee escape board or fume board: Encourages bees to move down out of supers before removal.
- Bee brush or soft feather: To gently clear remaining bees off frames.
- Food‑grade buckets with tight‑fitting lids.
- Uncapping knife or fork: For opening capped cells.
- Strainers or sieves: For filtering wax bits and debris.
If you don’t own an extractor, you can still harvest small amounts using the crush‑and‑strain method with simple buckets, a kitchen sieve, and patience.
Gear for Winterizing
- Entrance reducers and optional mouse guards.
- Insulation boards, foam, or wraps, depending on climate.
- Top covers that shed water well.
As you set gear in place, keep honeybee biology in mind:
- Bees form a winter cluster, moving upward through stores.
- Good gear supports ventilation without drafts, moisture control, and predator exclusion.
Winter: Quiet Tools and Distant Hands
You won’t be opening hives much, but the right gear still matters.
Winter Essentials
- Straps or weights on lids to guard against wind.
- Simple listening tools: Some beekeepers use a mechanic’s stethoscope or just an ear against the box.
- Snow shovel or broom: To clear entrances, not lids.
What You Check
- Are entrances clear of ice and dead bees?
- Is the hive still standing straight and secure after storms?
Often the most important “gear” in winter is a good logbook. Record which equipment arrangements (wraps, top ventilation, hive stands) led to stronger spring colonies so you can refine your approach.
Gear for Better Hive Inspections at Any Time of Year
Regardless of season, a few pieces of gear consistently improve inspections for both you and the bees.
1. A Good Notebook (or Digital Log)
Track:
- Date and weather
- Temperament of bees
- Brood pattern quality
- Queen status (seen, eggs present)
- Gear notes (tight zippers, leaky smoker, busted frames)
Patterns over time—more than any single inspection—tell you how your gear and management influence colony health.
2. Gentle Lighting
If you inspect on cloudy or late days, a headlamp with a warm, diffuse beam helps you see eggs at the bottom of cells without casting sharp shadows. Avoid harsh, bright beams pointed directly at bees’ eyes.
3. Cleaning and Maintenance Supplies
- Wire brush for the smoker and hive tool.
- Mild soap and water for scrubbing suits and gloves.
- Replacement elastic and zipper pulls—small fixes keep gear safe and comfortable.
Routine cleaning removes alarm pheromones from gear, which can lower defensiveness next time you visit the hive.
Matching Gear to Colony Personality
Not all colonies behave the same way. Your gear choices can adapt to a hive’s unique temperament.
- For very gentle colonies, you may feel comfortable in a jacket, light gloves, and minimal smoke.
- For more defensive colonies, add:
- A full suit with a round veil (keeps mesh away from your face).
- Thicker gloves, at least until you can re‑queen or figure out the cause of their mood.
- A storm is coming.
- It’s very windy or cold.
- The nectar flow has stopped.
Remember: Bees get testy when:
Sometimes upgrading your gear for a specific day’s conditions is wiser than pushing through under‑protected.
Building Your Seasonal Gear Plan
Instead of buying everything at once, you can build a seasonal gear plan that grows with your experience.
Year 1 Essentials
- Protective: Jacket or suit, veil, gloves, sturdy footwear.
- Tools: Smoker, hive tool, bee brush.
- Hive: Bottom board, brood box(es), frames, feeder, entrance reducer.
- Basic record keeping setup.
Year 2 Add‑Ons
- Nuc box for splits or rescue.
- Varroa monitoring kit and chosen treatment delivery gear.
- Additional supers and a simple honey harvest setup.
Year 3 and Beyond
- Ventilated gear for comfort.
- Robbing screens, custom stands, and insulation tailored to your yard.
- Extra nucs and boxes to give you more flexibility.
Each year, let your bees’ behavior and your own comfort guide which gear you invest in next.
Encouragement for the Backyard Beekeeper
Perfect gear doesn’t make a perfect beekeeper, but thoughtful, well‑maintained gear absolutely makes it easier to be a calm, observant one.
Learn to light a cool, steady smoker. Keep your hive tool sharp and clean. Choose protective clothing that lets you relax. With those basics in place, every season becomes a little easier—and every inspection becomes a conversation with your bees instead of a wrestling match with your equipment.
As your colonies grow and change, let your gear evolve too. Over time, you’ll build a toolkit that feels less like a pile of stuff and more like a quiet partnership between you, your bees, and the turning year.